#
Rebus Staking UI
#
Overview
In this tutorial we will learn how to stake Rebus to a validator of the Rebus network. This will earn you rewards and help to secure the Rebus network. We will be achieving this with the following general steps:
- Install and configure the Keplr browser extension
Open the Rebus staking UI and login with your Keplr wallet Select a validator and stake your Rebus tokens Redelegate Tokens Undelegate Tokens Collect staking rewards
For users with a Rebus stakedrop allocation, you will need to add your rebus wallet associated with the stakedrop to your Keplr browser extension. You can do this by following the Keplr guide and entering the mnemonic associated with your cosmos (atom) wallet address.
Delegation of your tokens to a validator will make them unusable for any other purpose. The tokens become "bonded". To "unbond" your tokens, you will need to un-delegate them. #TODO veifty that this process takes 21 days. During this unbonding time you will NOT receive rewards.
#
Open the Rebus Staking UI and log in with Keplr browser extension
Open the Chrome browser and navigate to the Rebus webapp (TBA). You will see the following page:
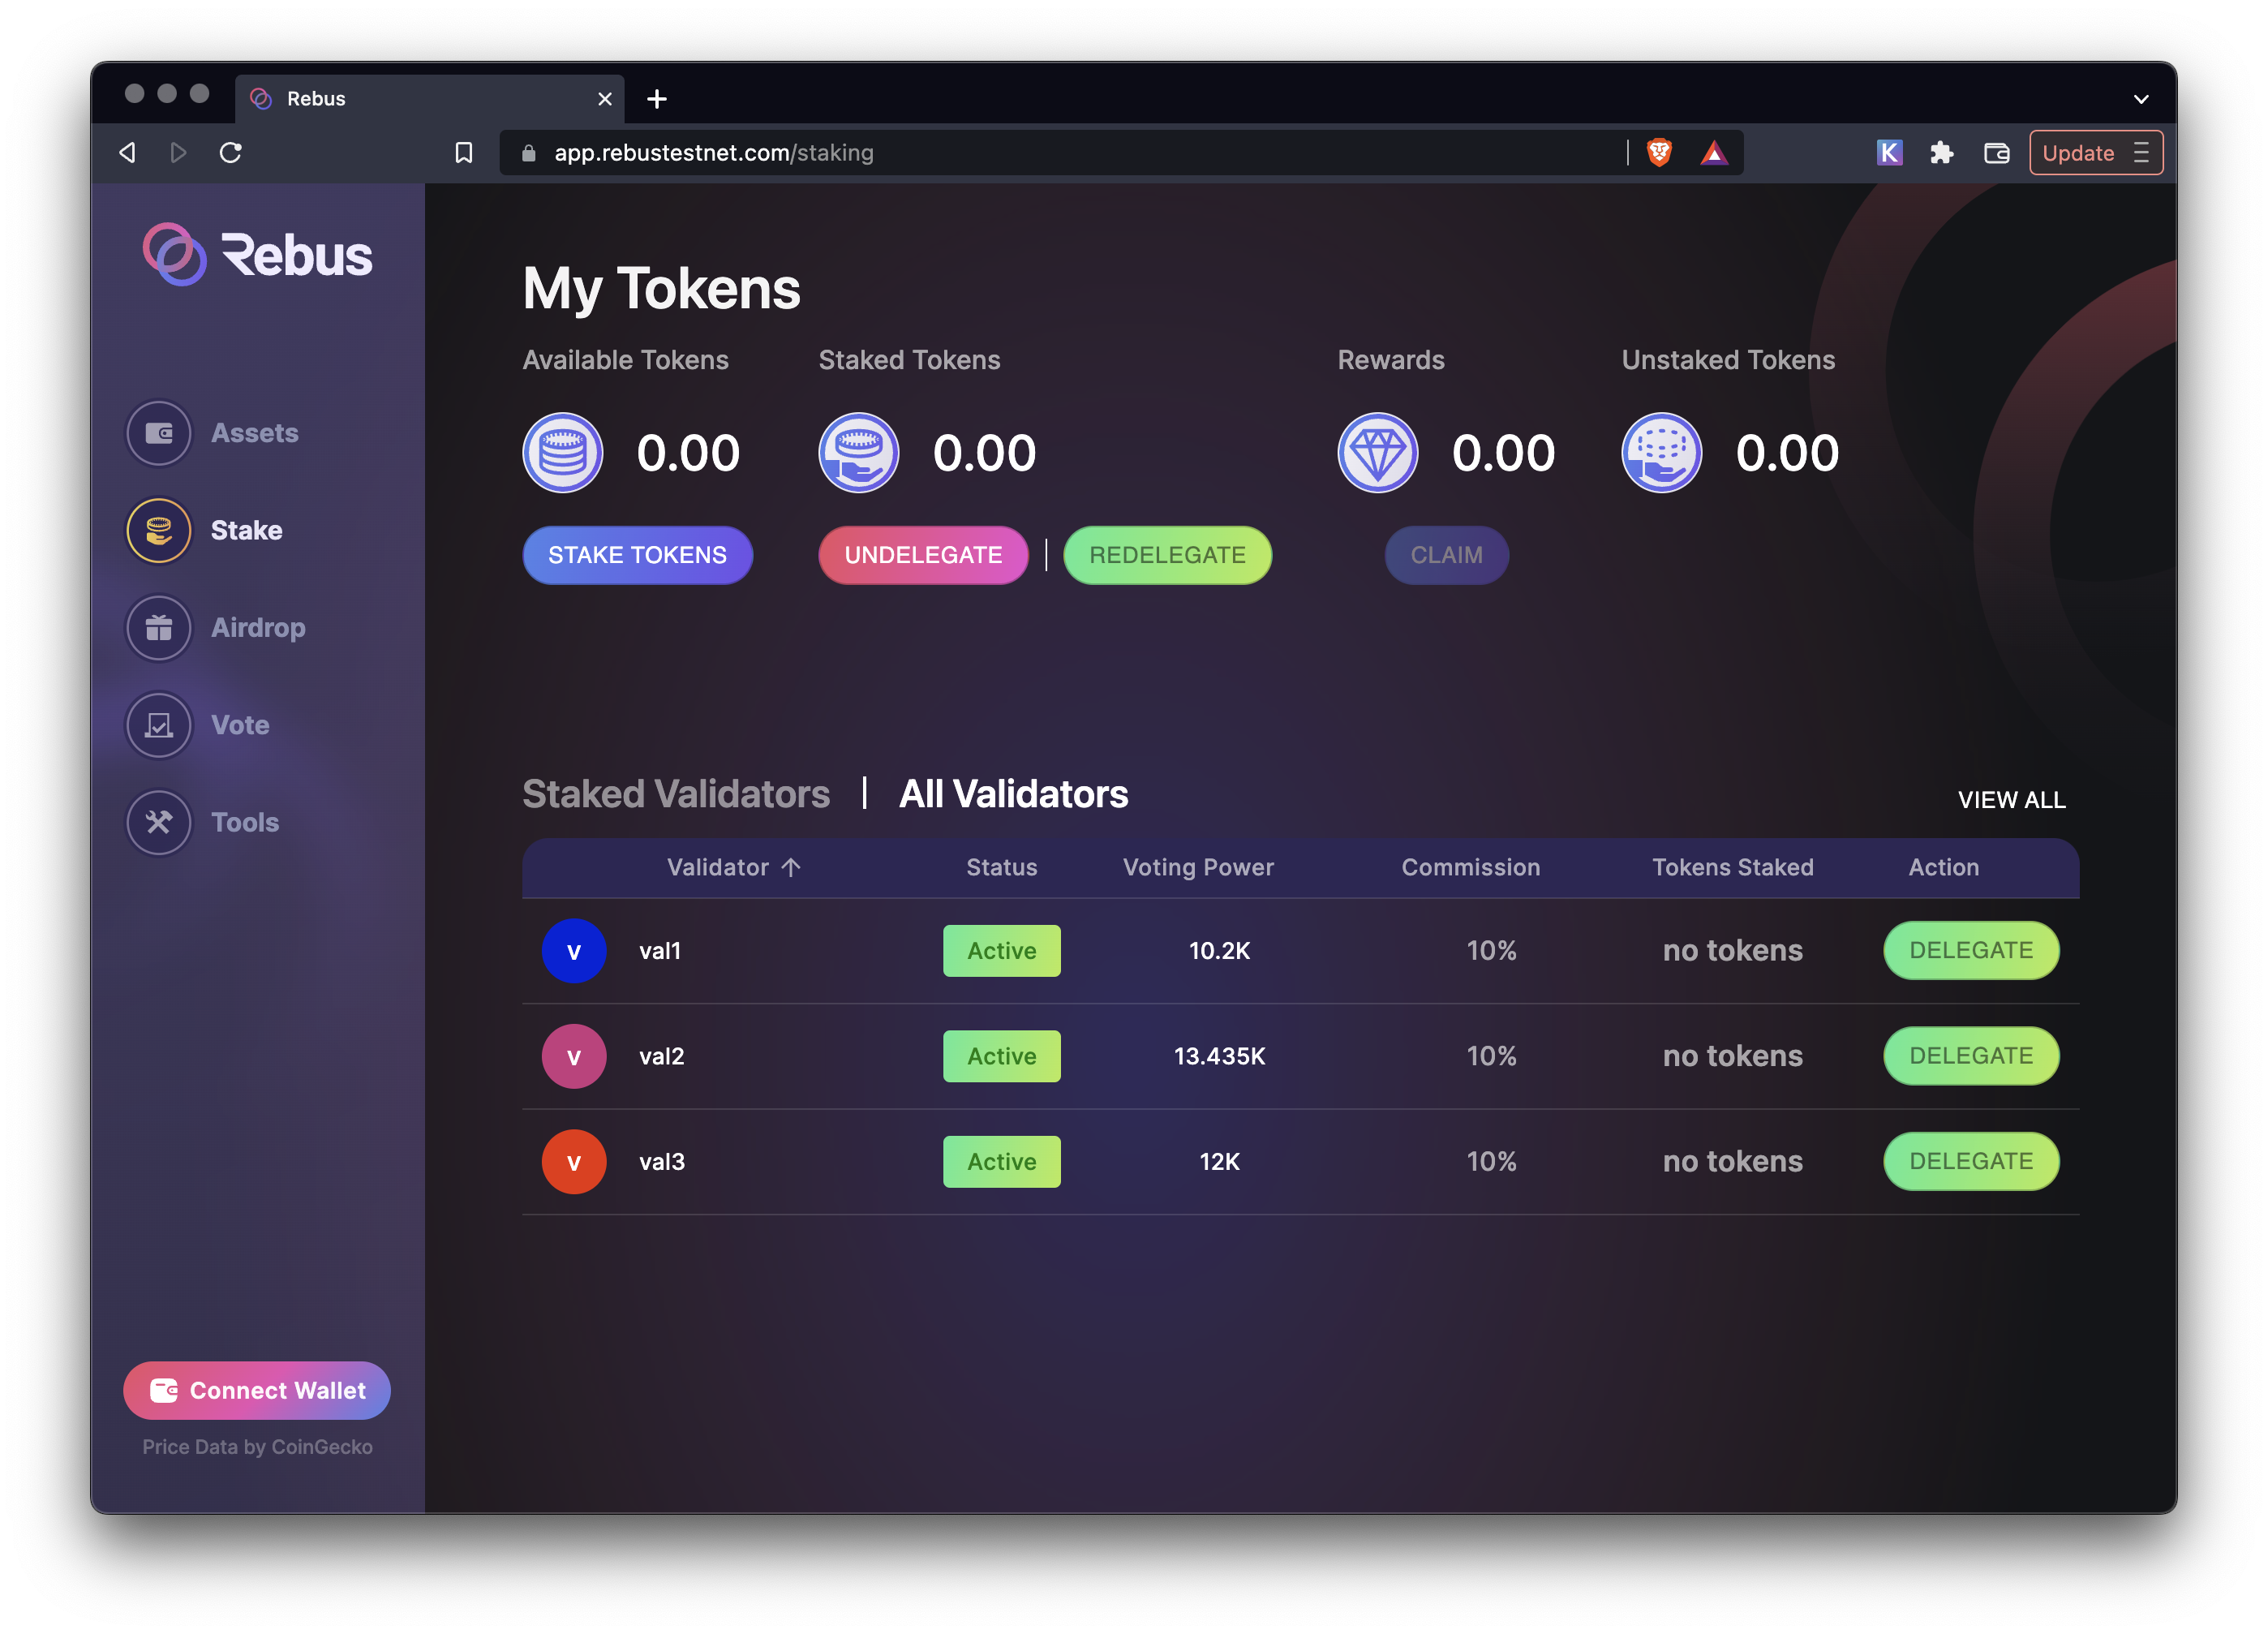
Be sure that you have the wallet you wish to use selected by clicking the Keplr icon in your Chrome toolbar, selecting the silhouette in the top right of the Keplr window and then selecting the account you wish to use.
Click the Connect Wallet to continue. A popup window will appear requesting to connect rebus.omniflix.co to your Keplr wallet.
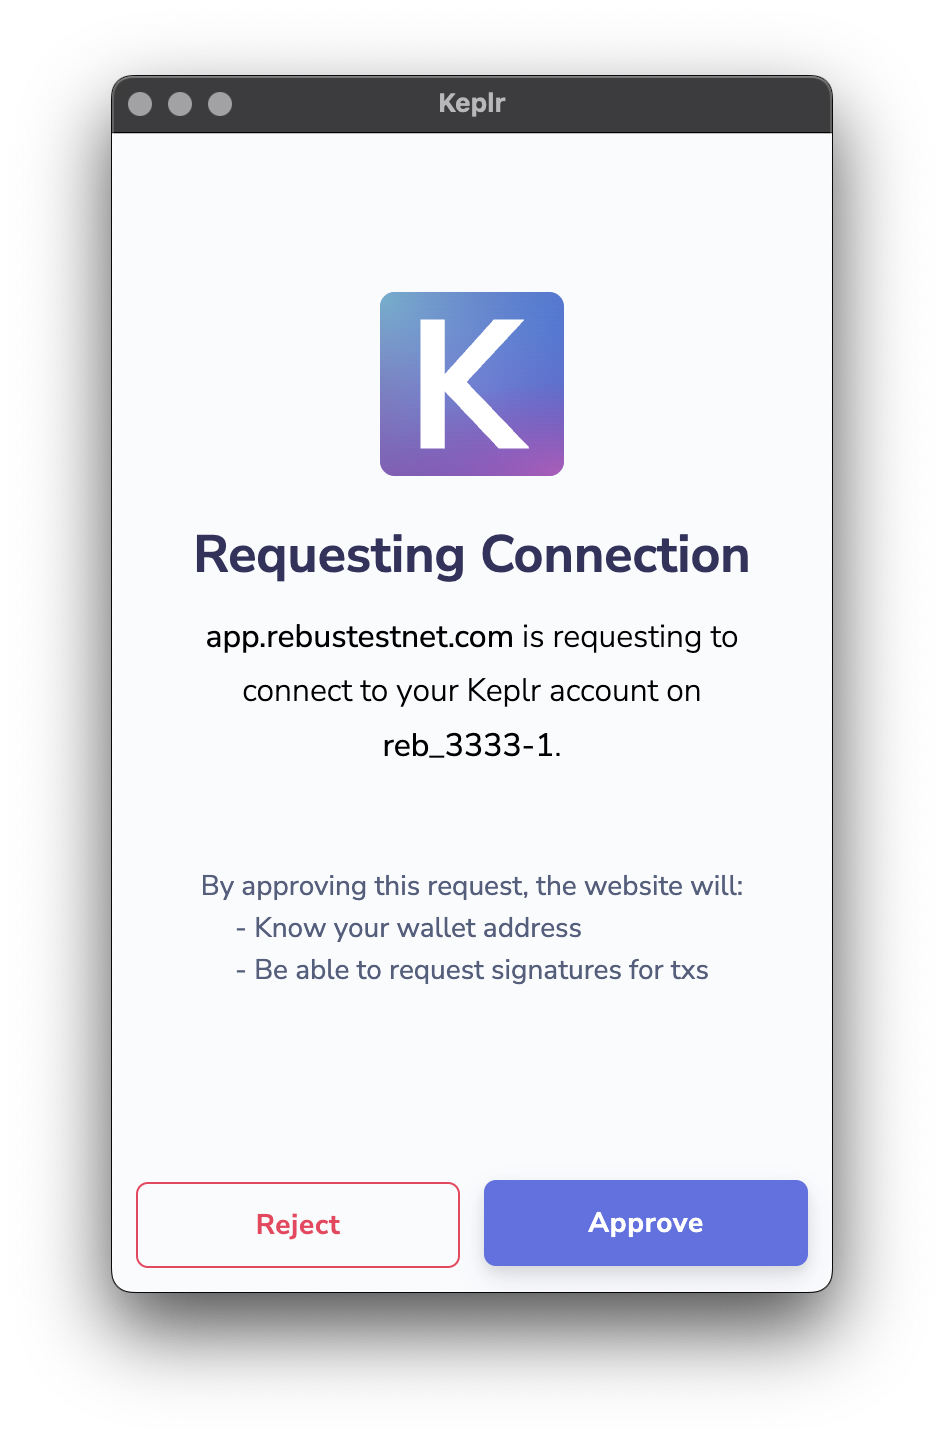
Click Approve to continue.

#
Select a validator and stake your Rebus tokens
To see all the available validators, click the All Validators tab if it's not already selected. A list of active validators will be shown. To see more validators you can click the pagination arrows at the bottom of the page. To delegate tokens to your desired validator, click the DELEGATE button to the right hand side of the row for the validator you wish to delegate too. You can also delegate from the My Token header section of the page.
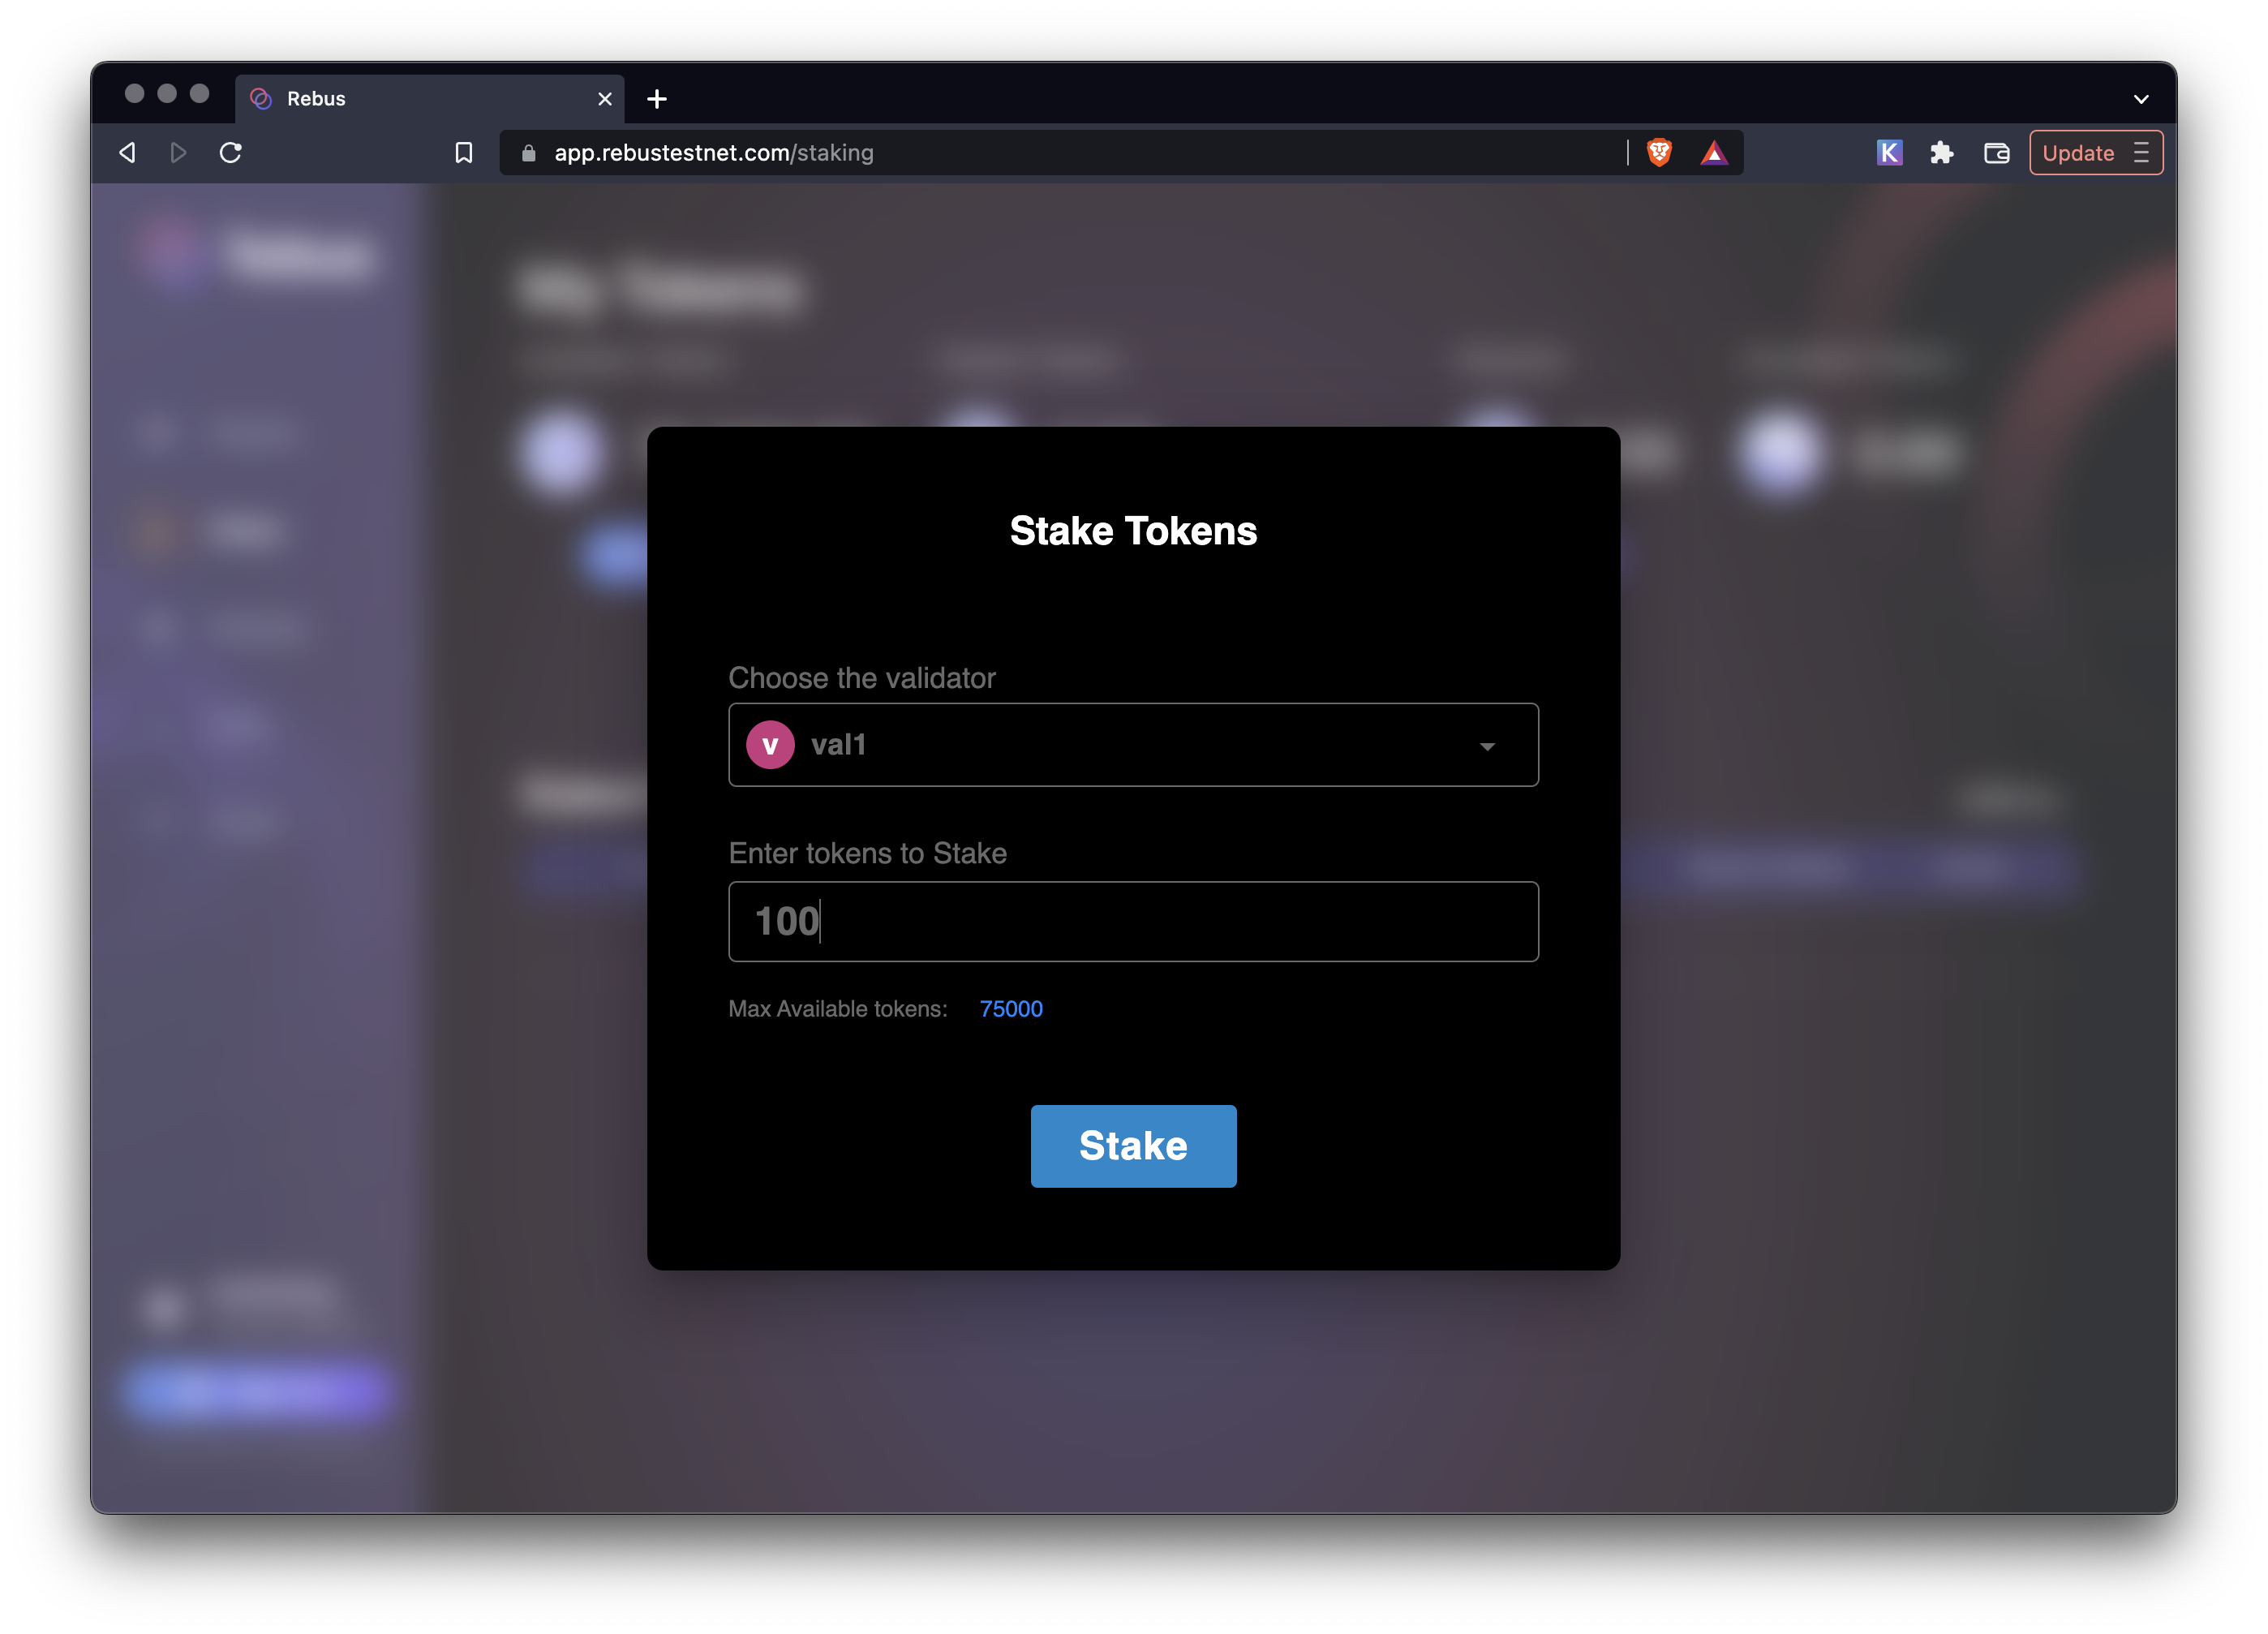
A form will appear, showing the validator and a field to enter the amount of tokens to delegate. Your available tokens can be seen at the bottom of the form. Enter the amount of tokens you wish to delegate and click DELEGATE.
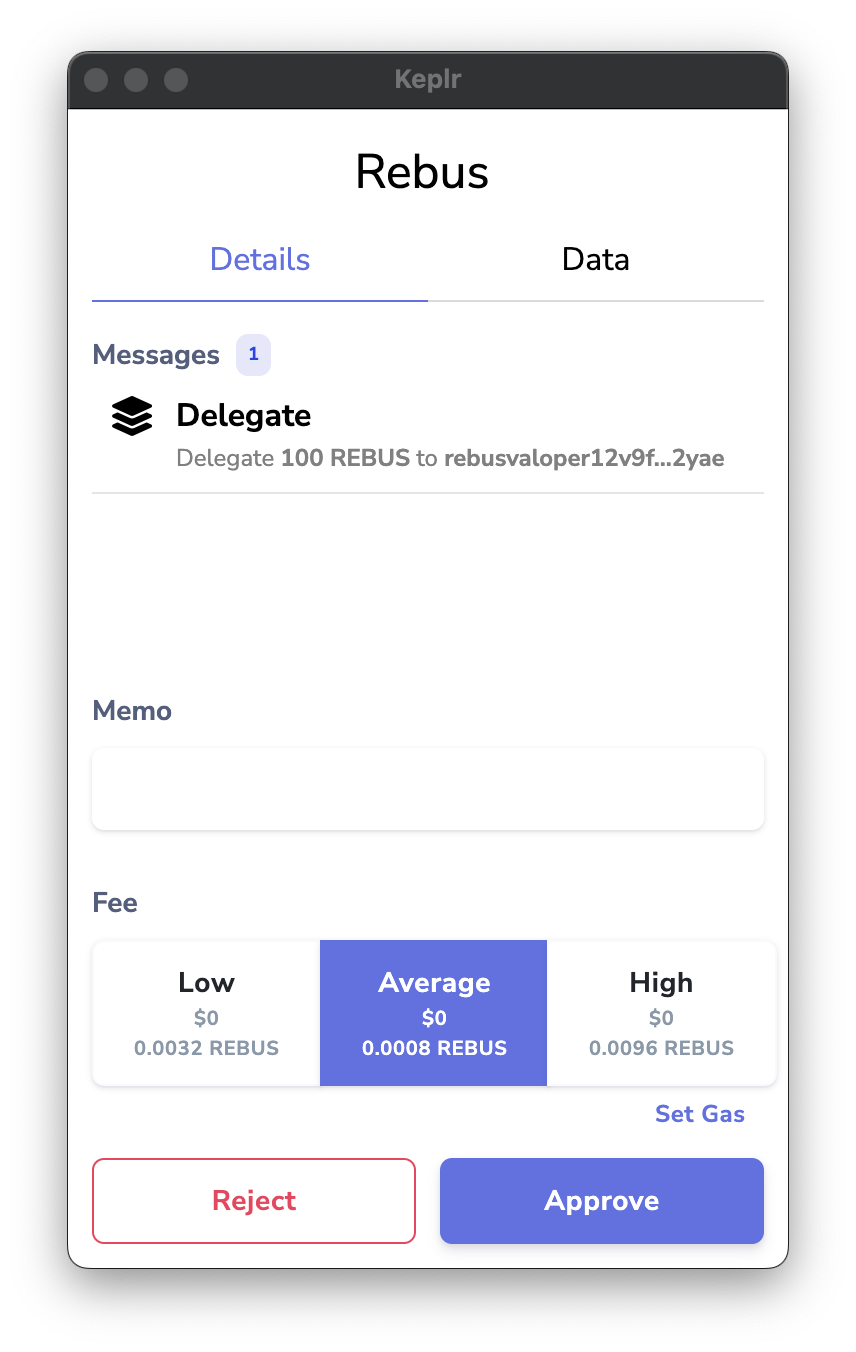
A Keplr wallet popup will appear asking for approval for the transaction. Click Approve to finalize the delegation.
After the transaction is completed, a popup will indicate that the tokens were successfully delegated. Click DONE to continue.
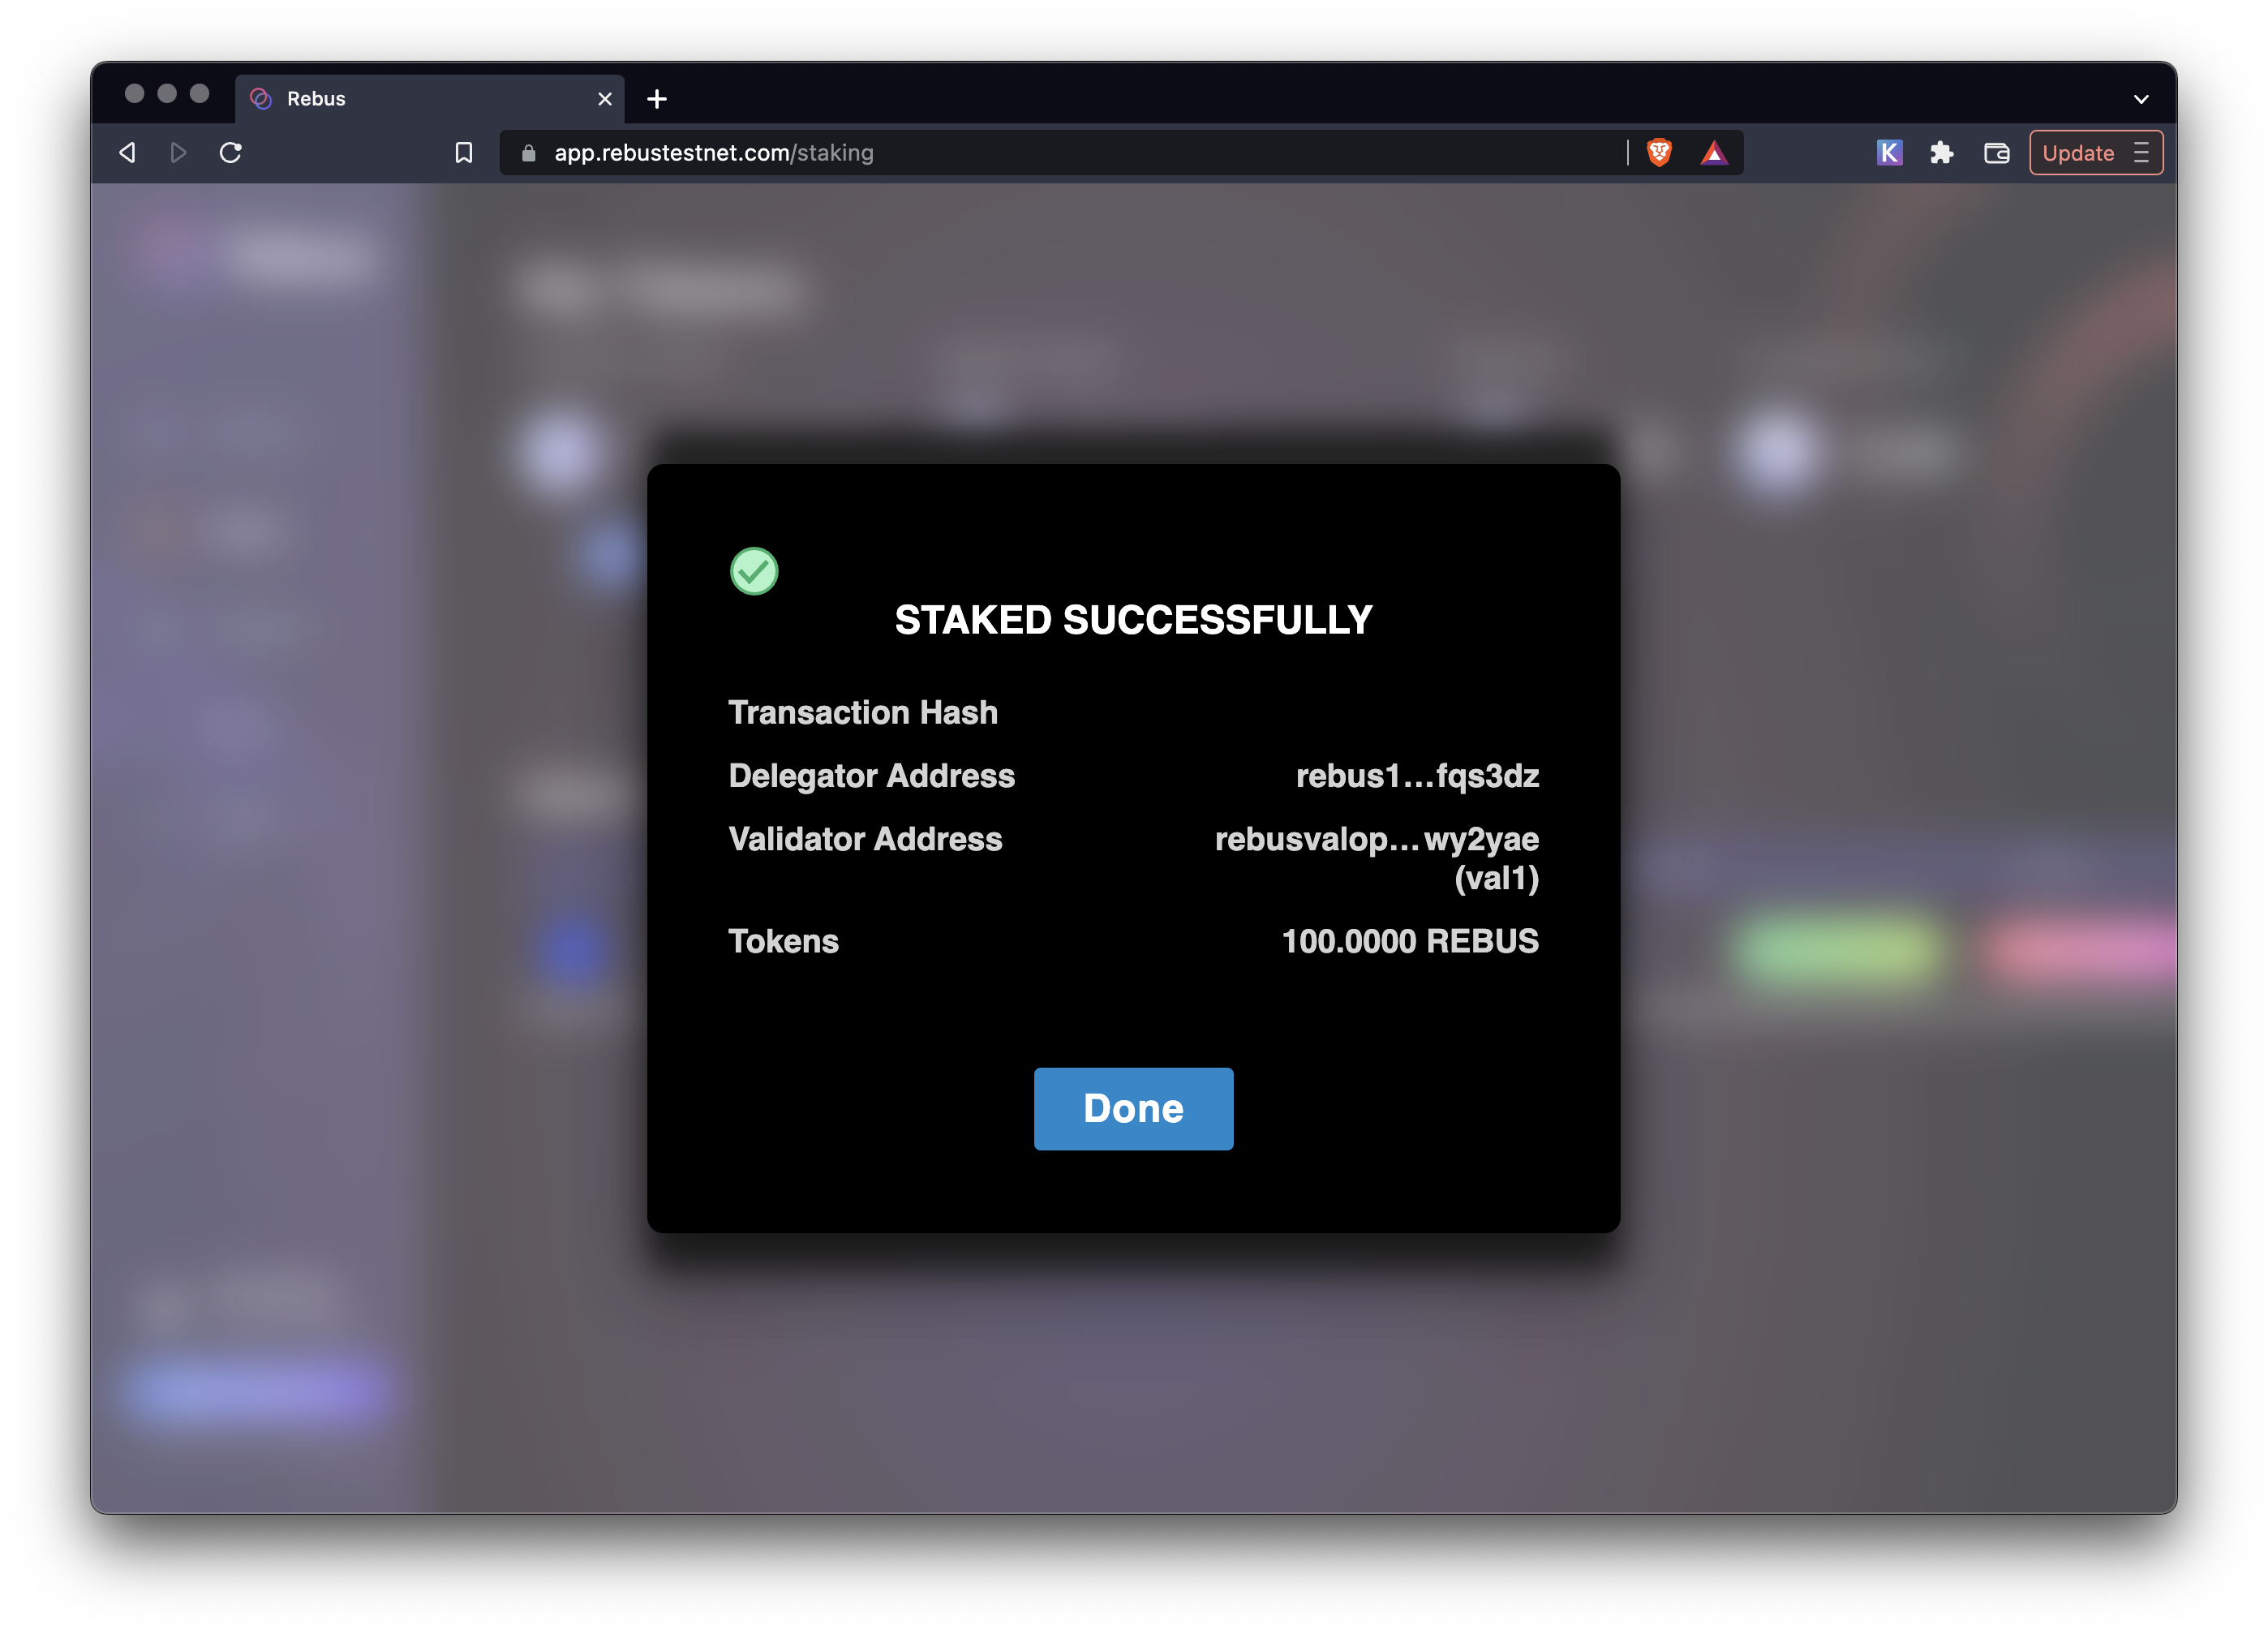
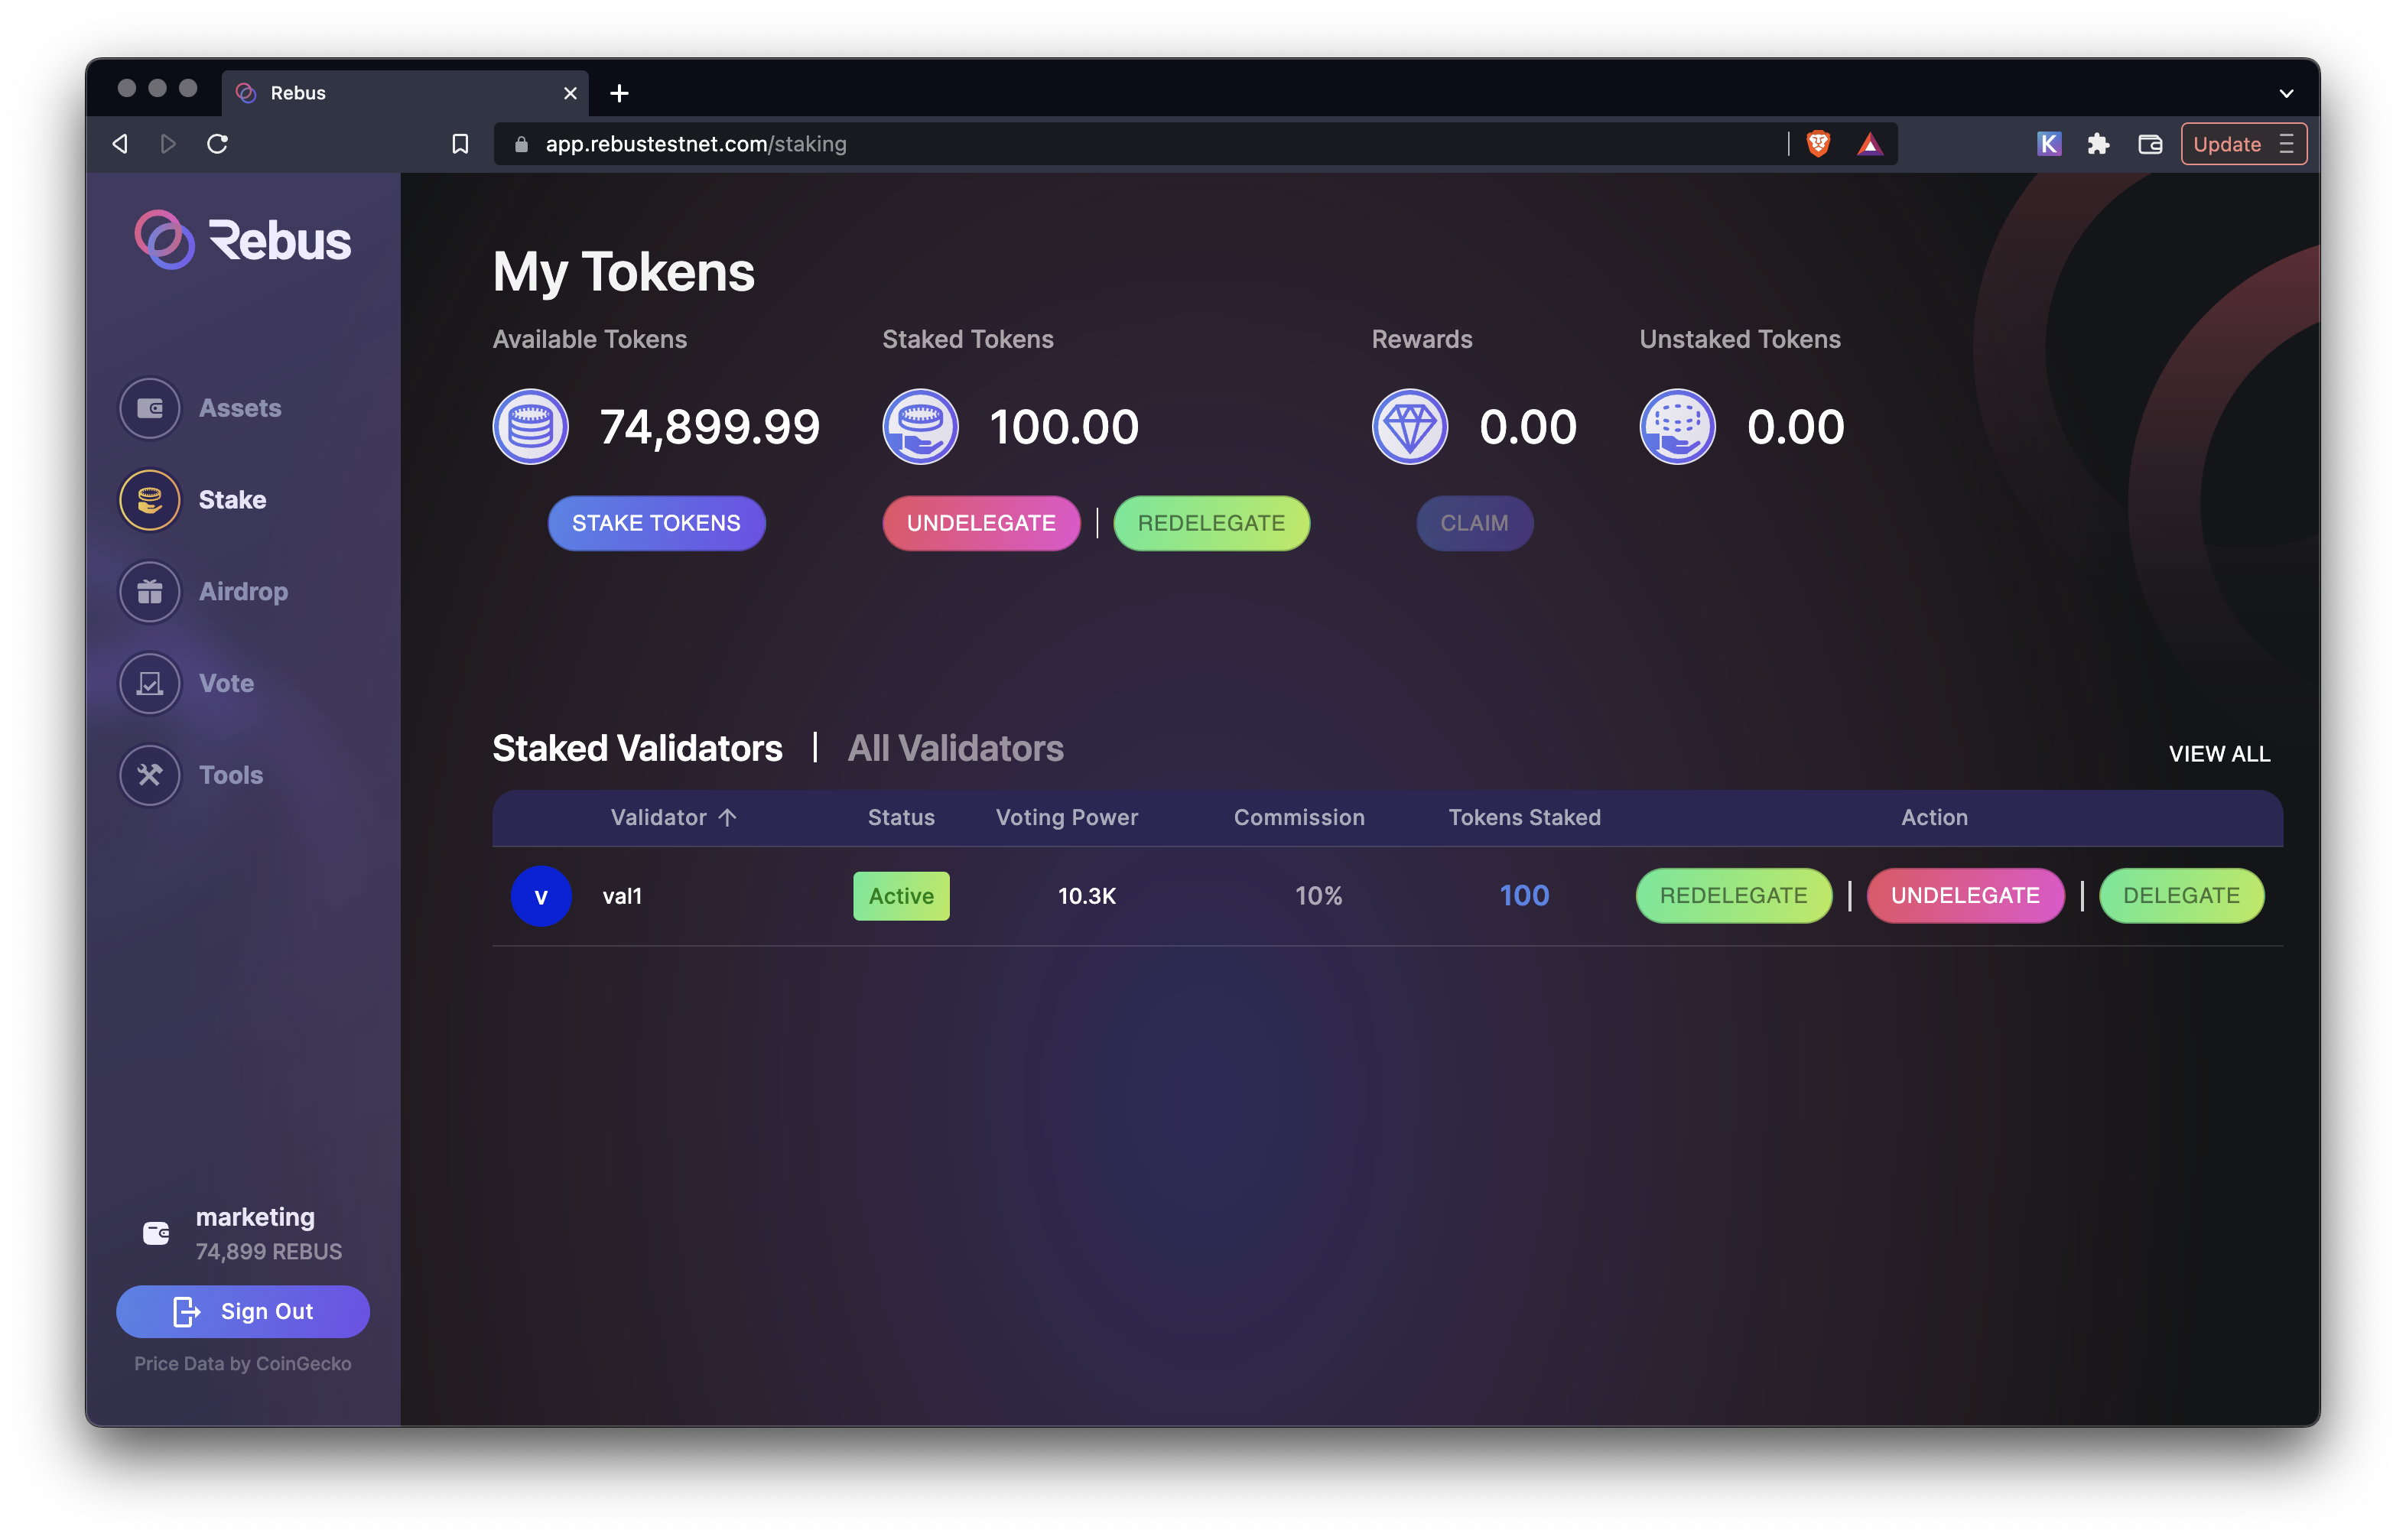
Your tokens are now delegated to the selected validator. You can now see the delegated amount next to the validator in the validator list. You will also be given additional options to REDELEGATE and UNDELEGATE for this validator.
#
Redelegate tokens
If you want to move your tokens to a different validator you can use the redelegate buttons. Once you click on them a popup will show up asking you the from and to validator and the amount you would like to redelegate.
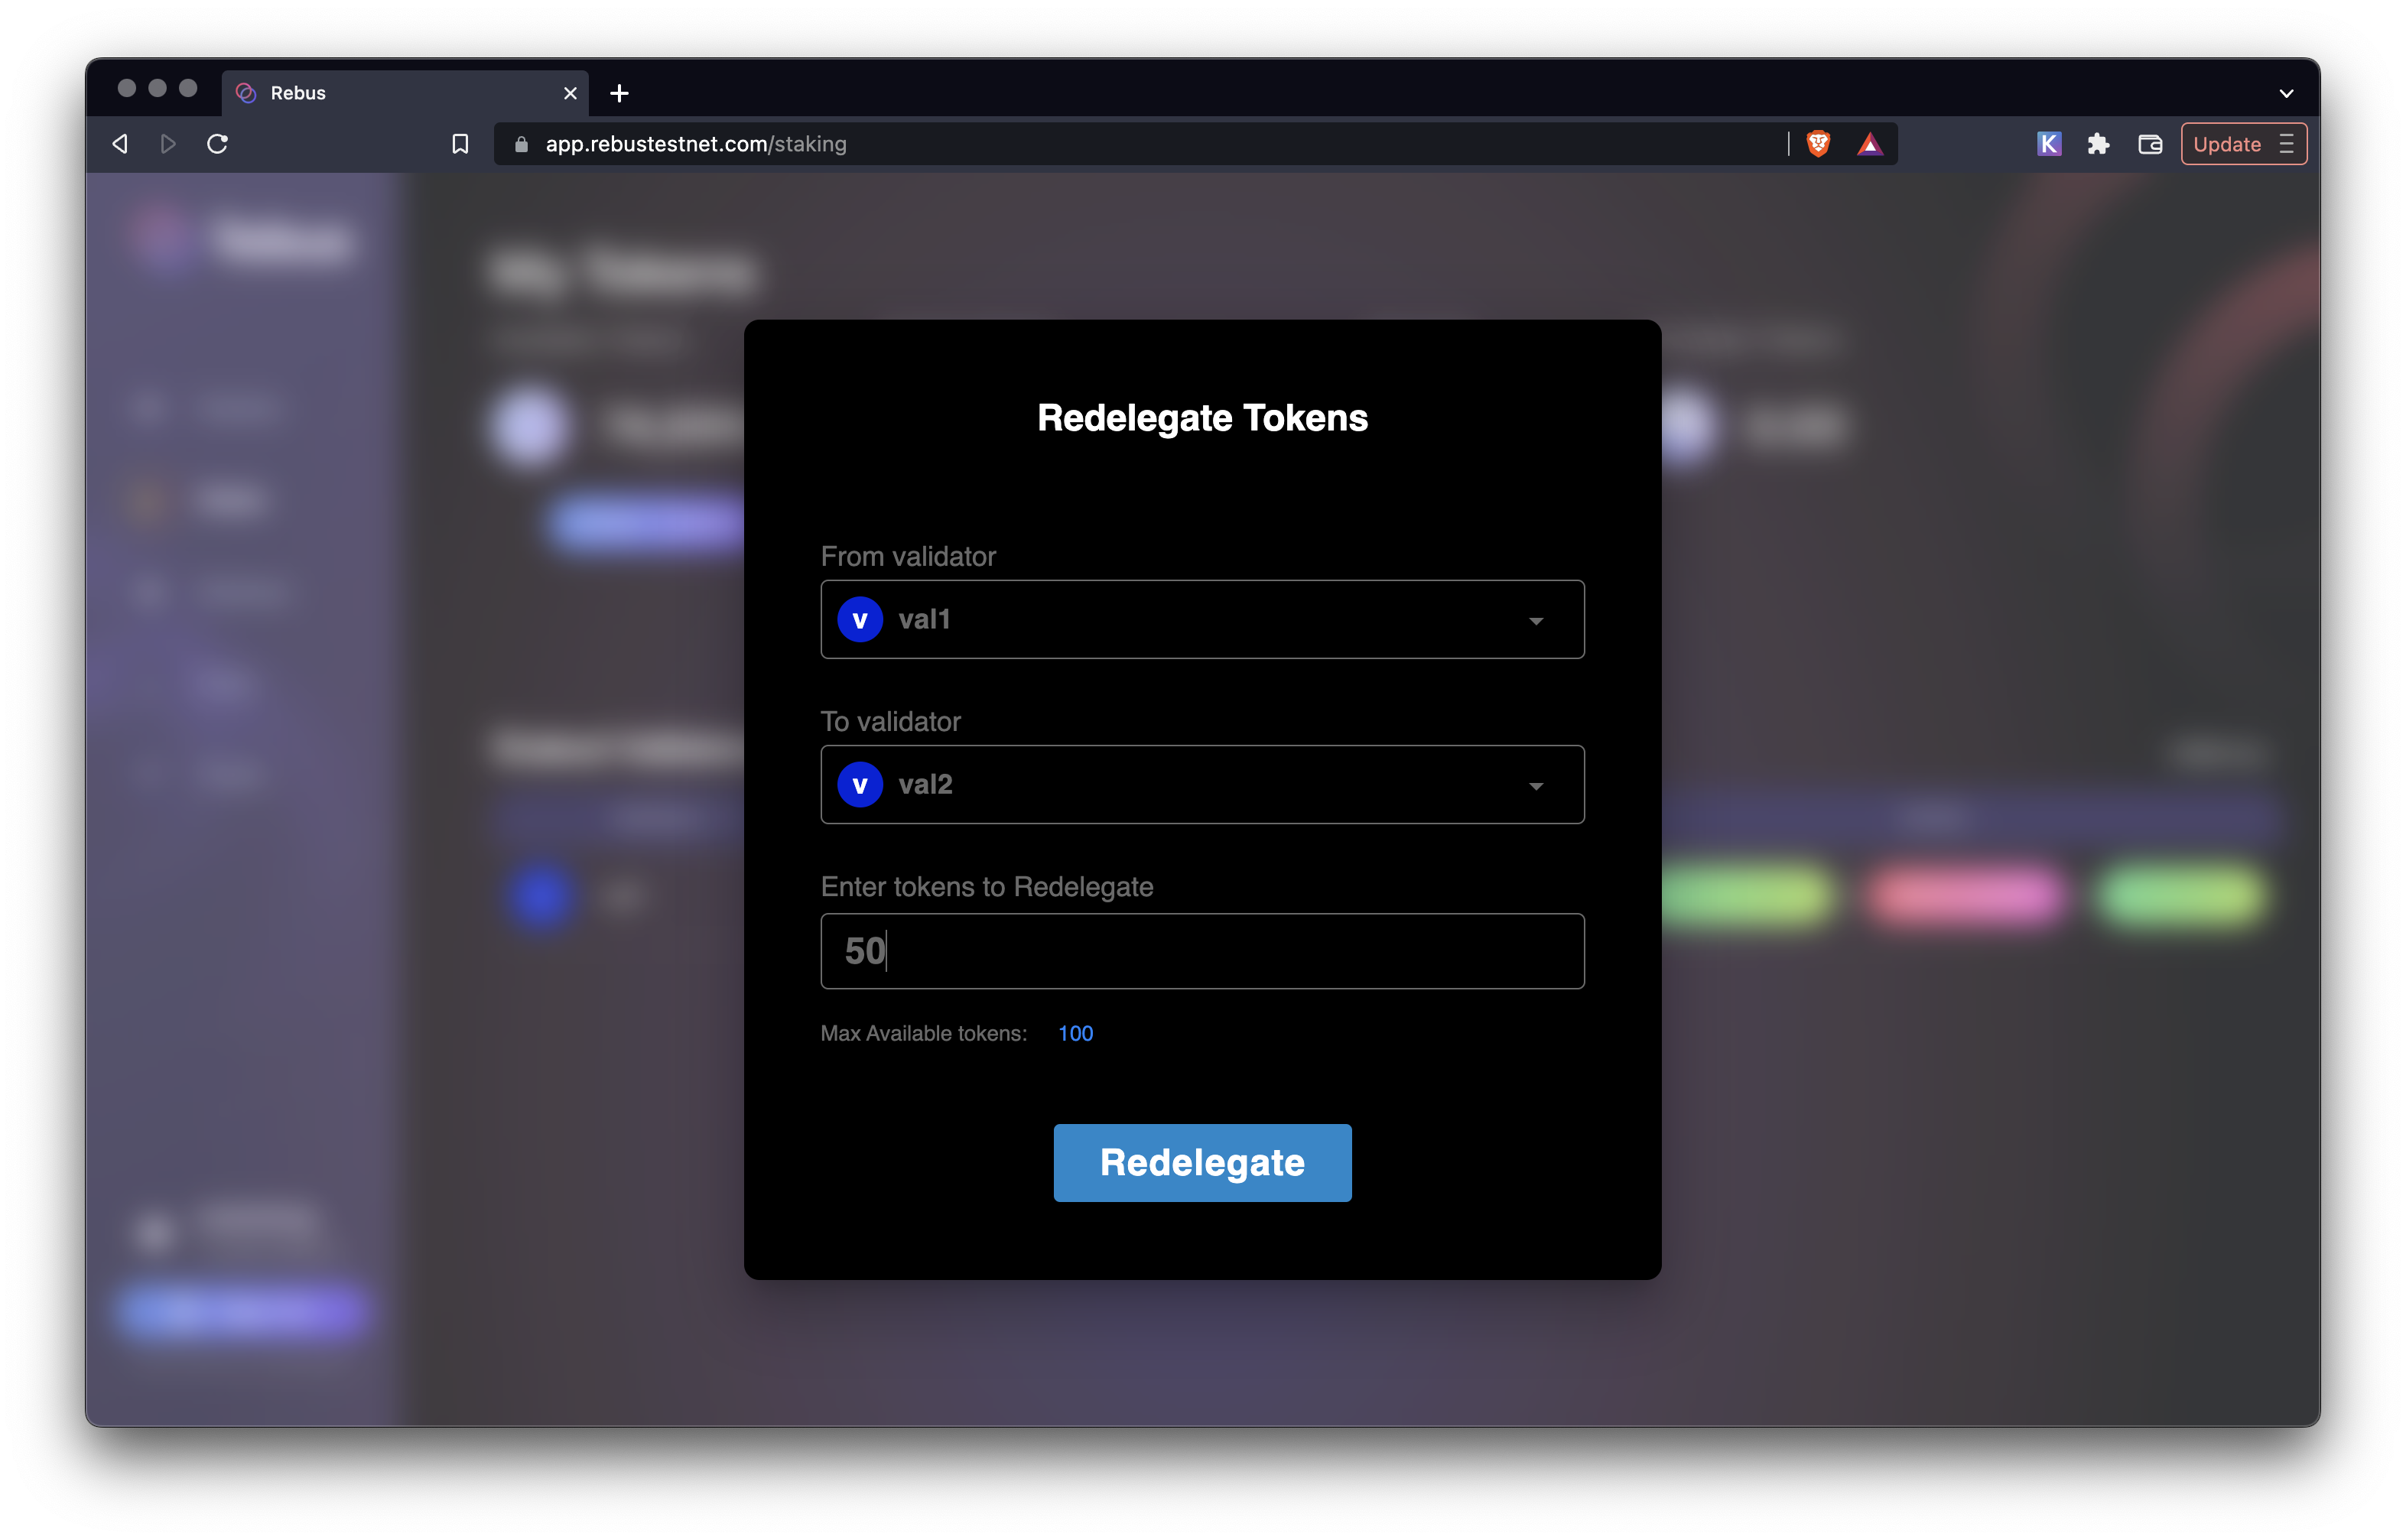
Click on the Redelegate button and approve the transaction in Keplr as you did before. At this point a popup will appear with indicating that the redelegation succeeded.
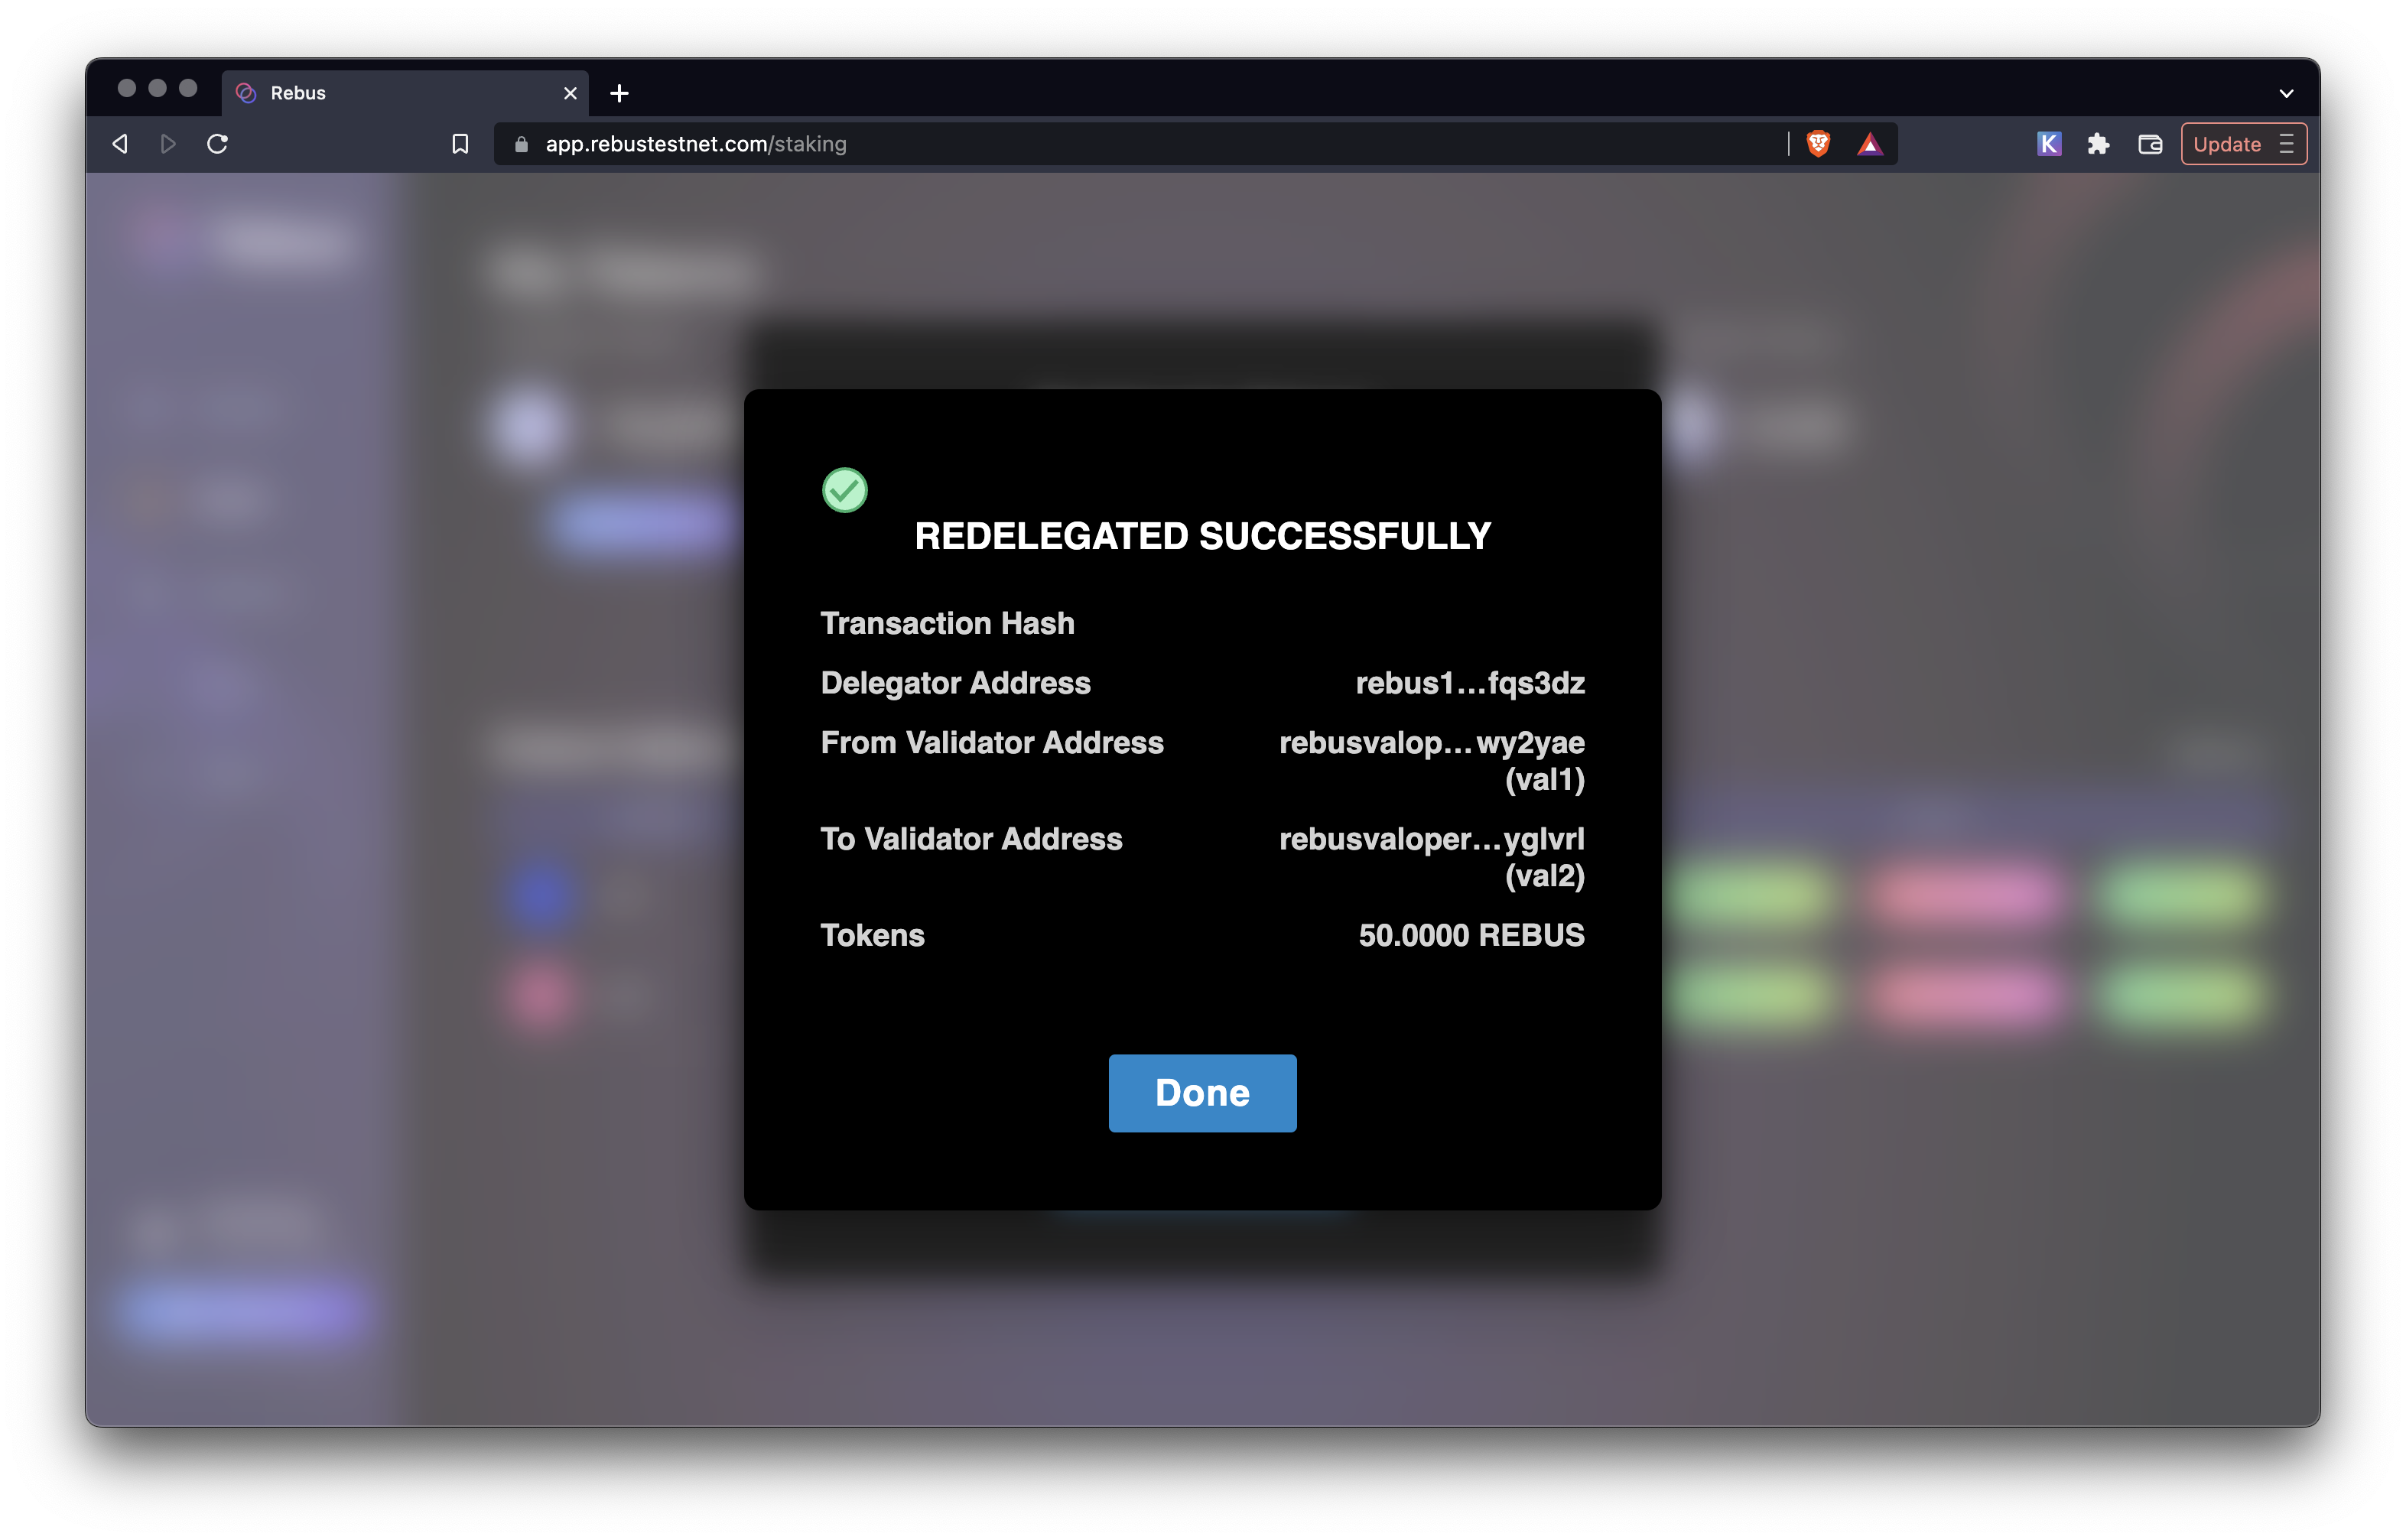
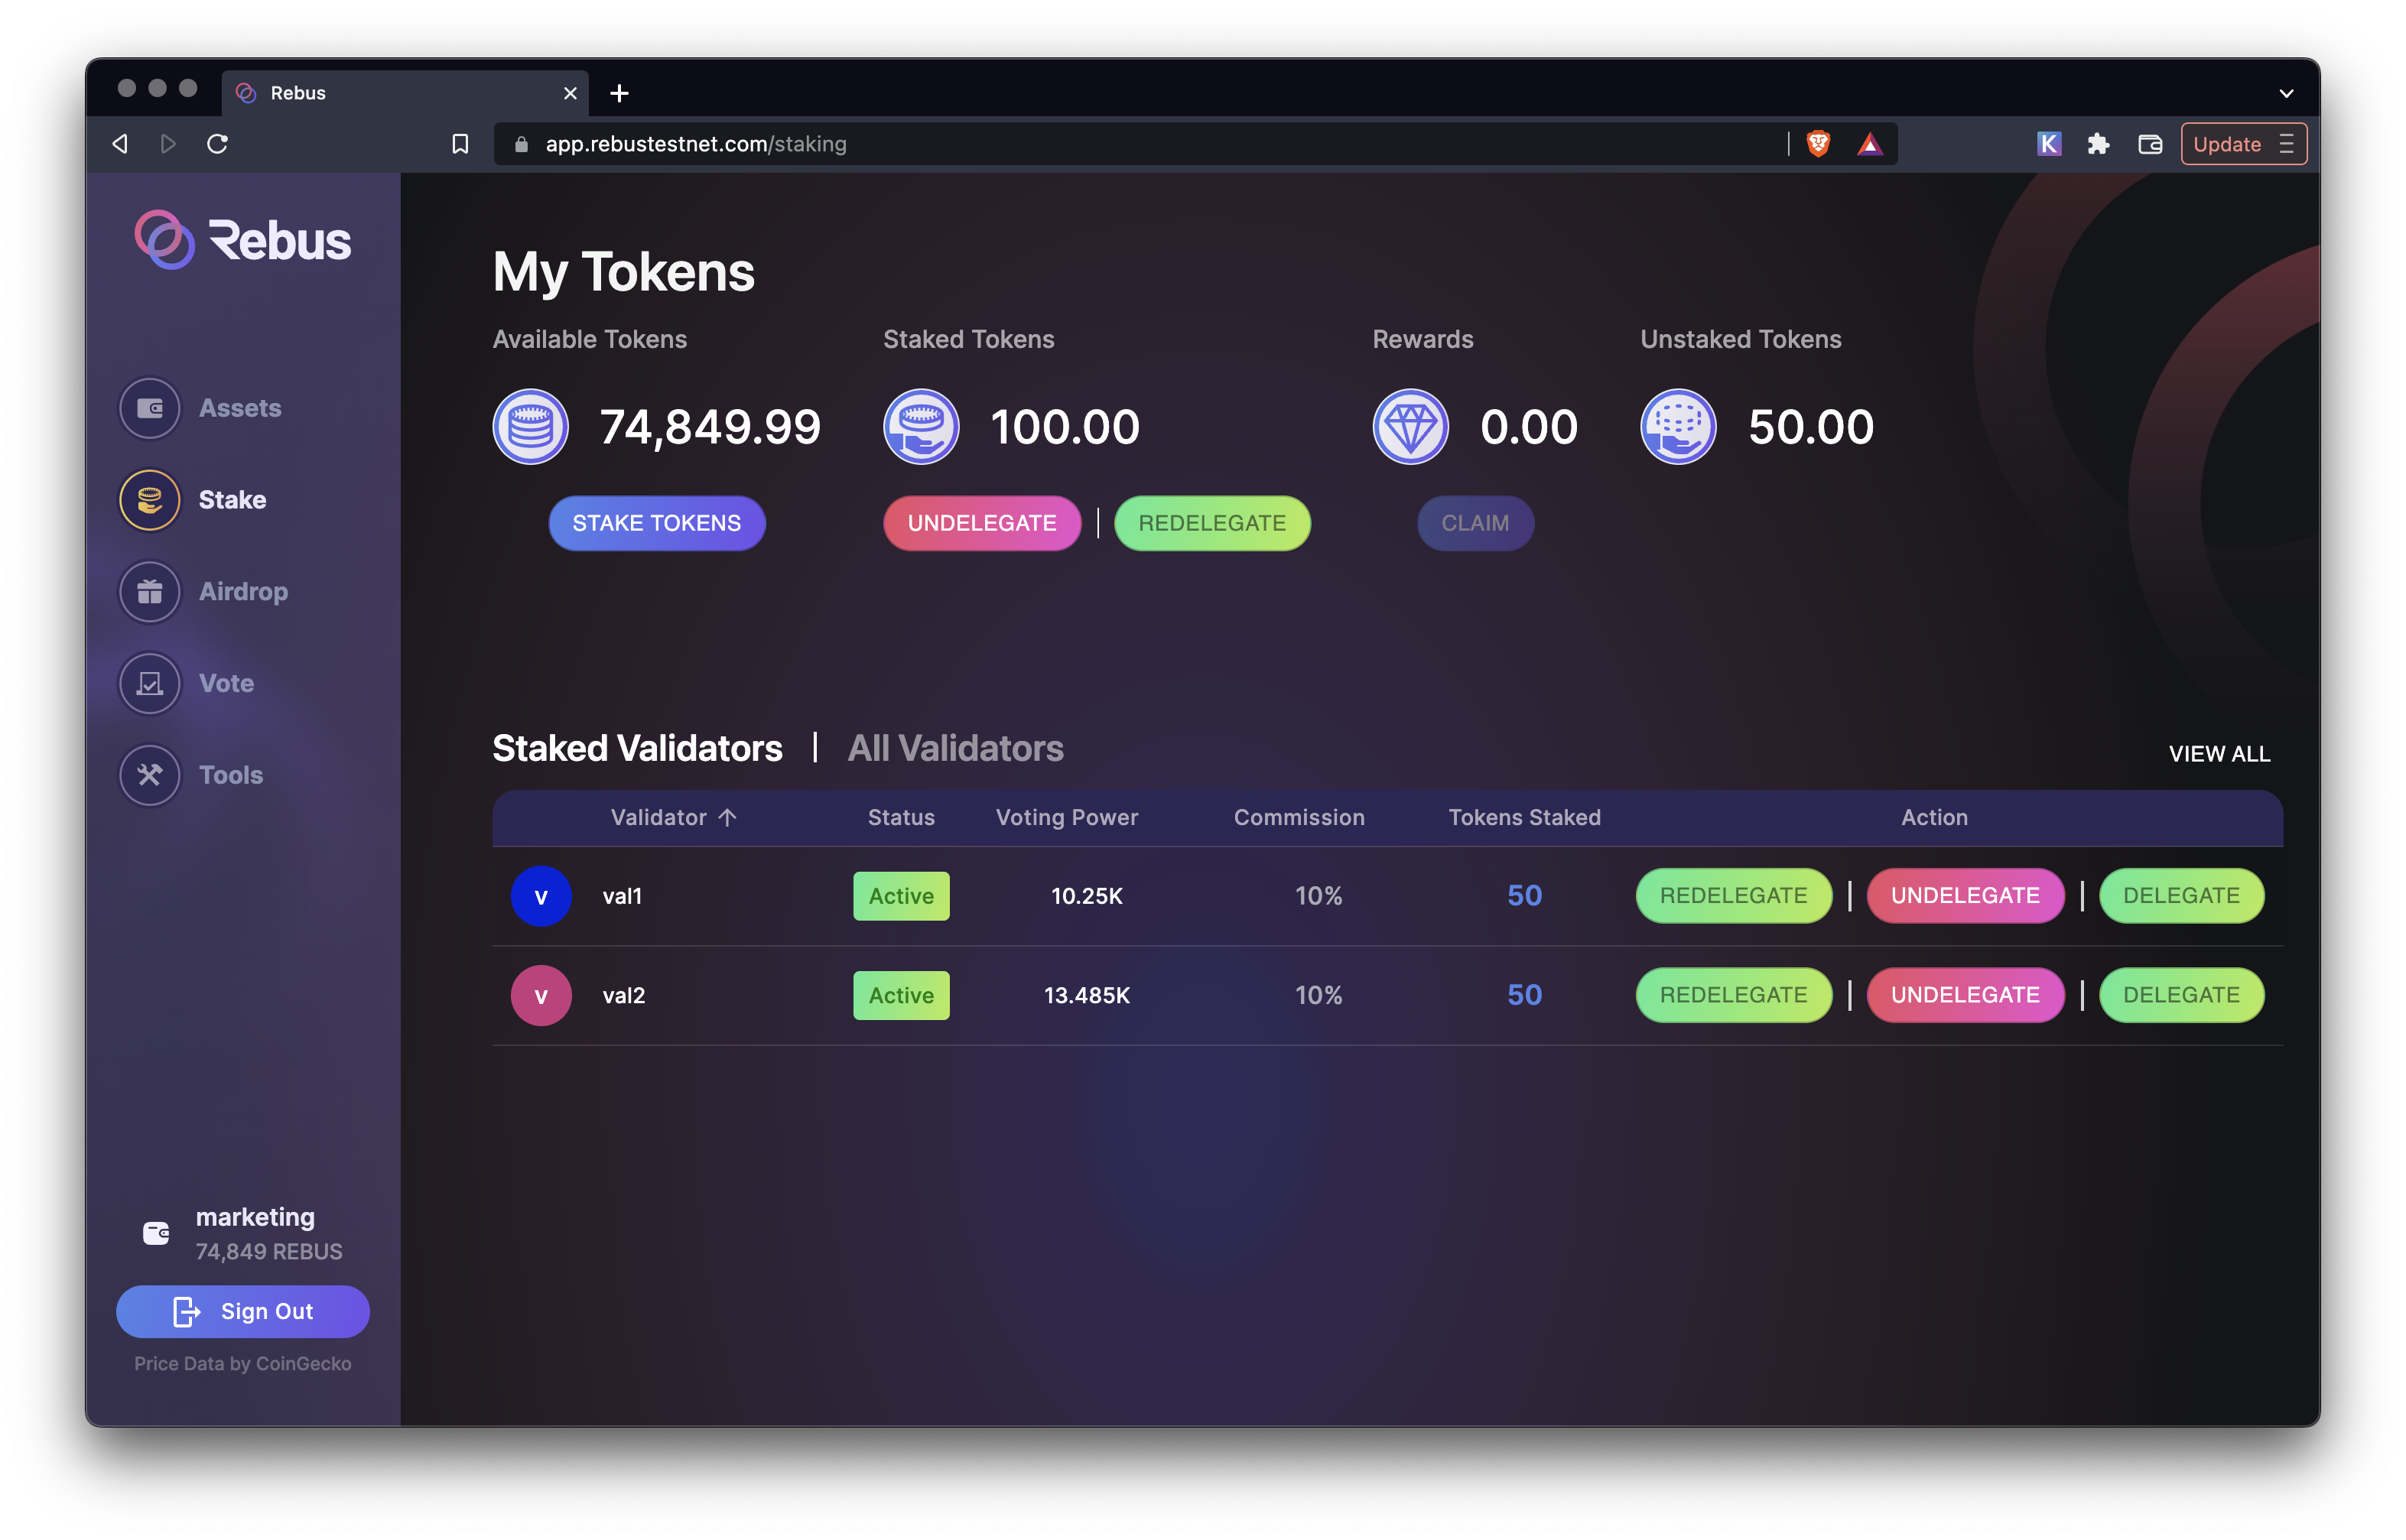
After redelegating your tokens you should now see two validator listed.
#
Undelegate tokens
If you want to remove your tokens from a validator you can use the undelegate buttons. Once you click on them a popup will show up asking you which validator and the amount you would like to undelegate.
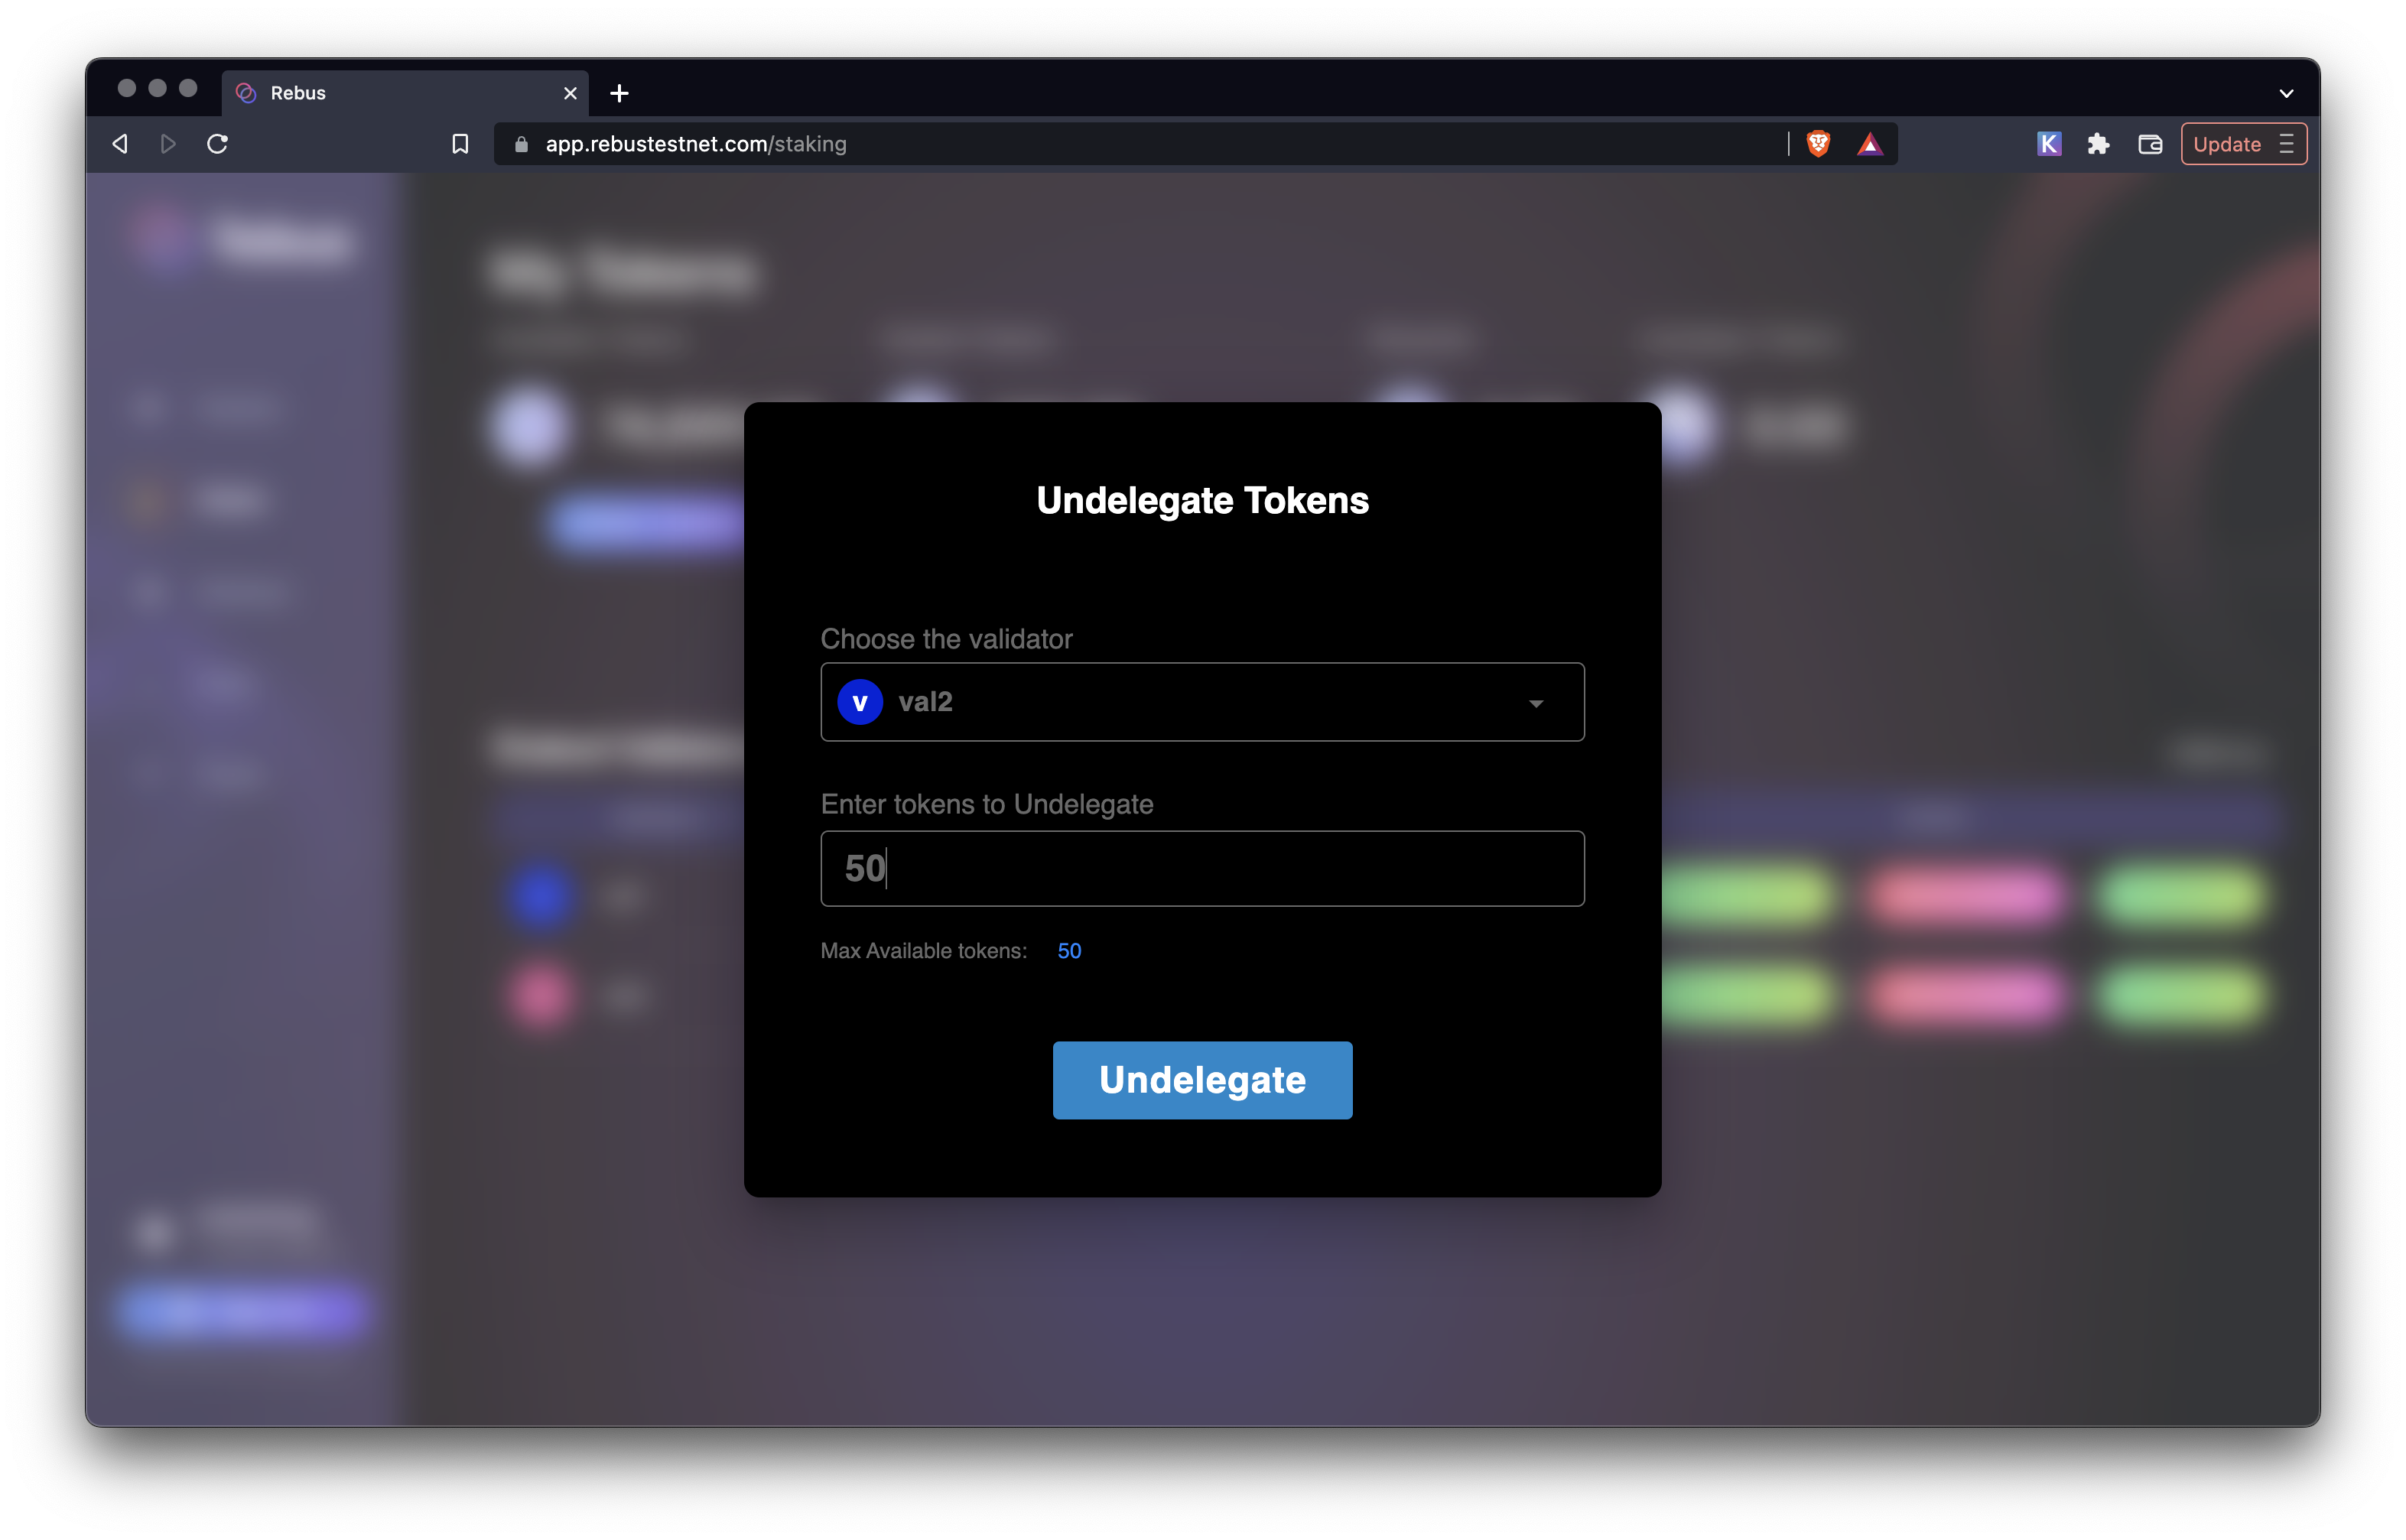
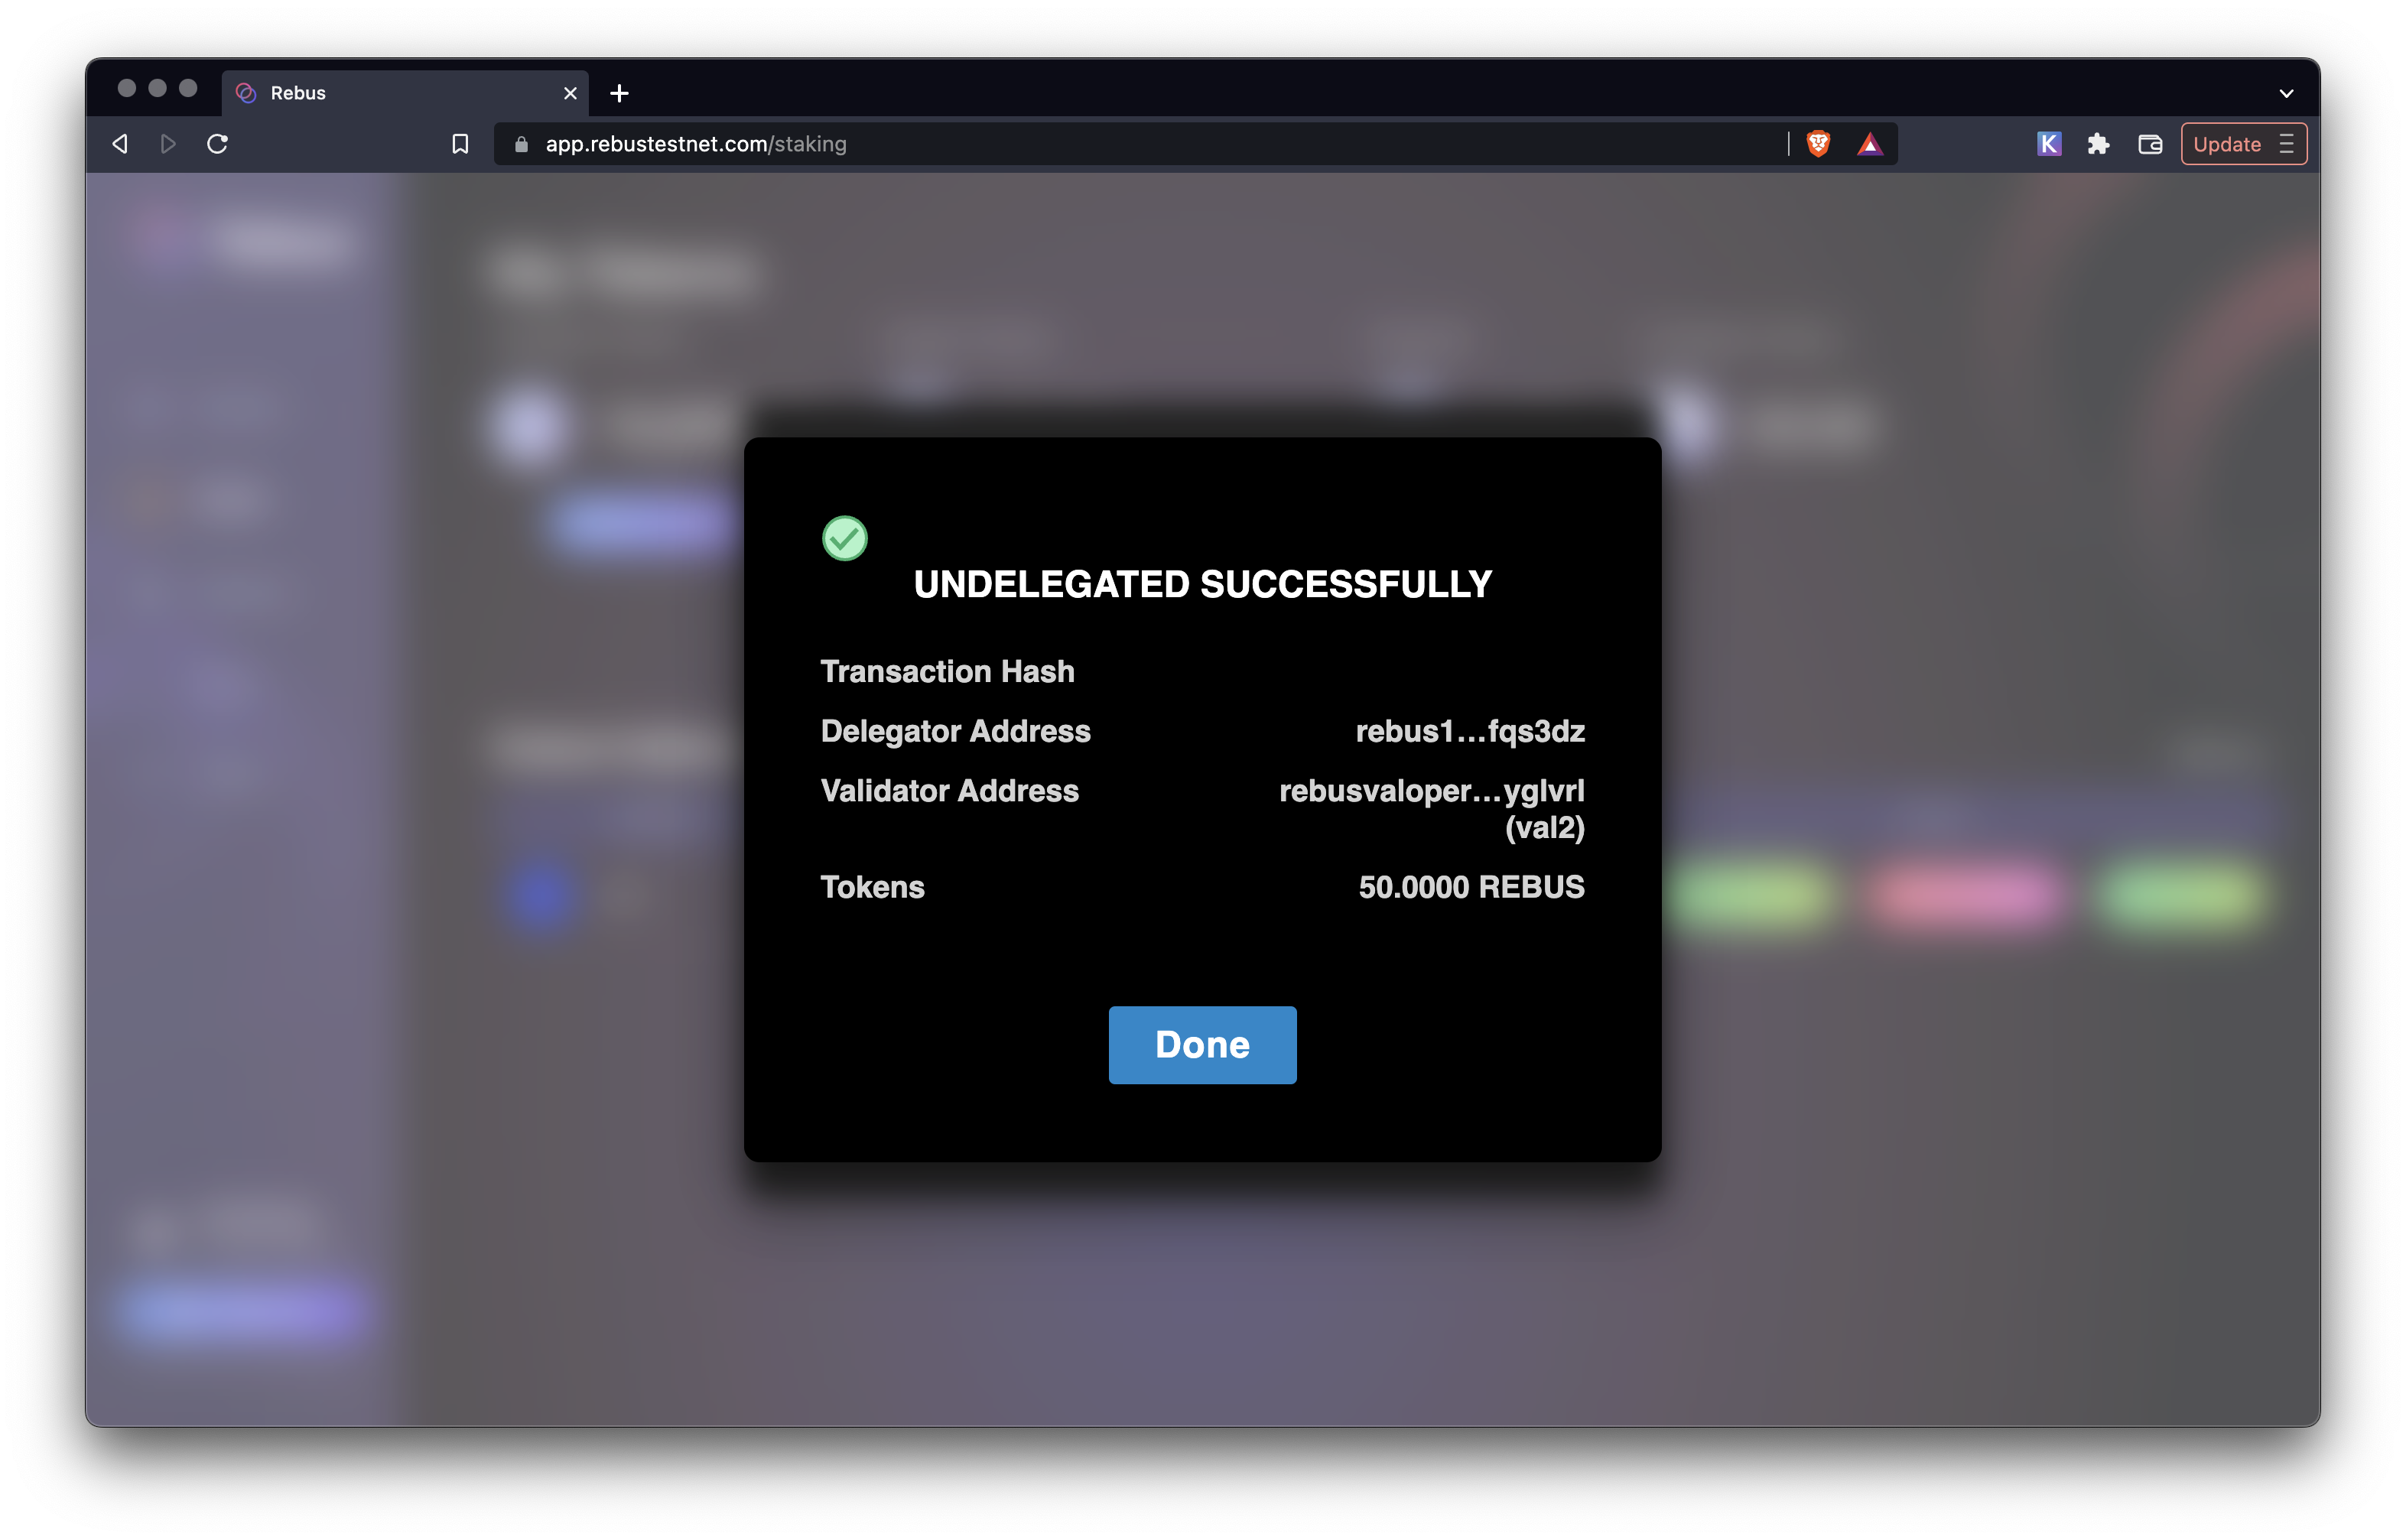
Click on the Undelegate button and approve the transaction in Keplr as you did before. At this point a popup will appear with indicating that the undelegation succeeded.
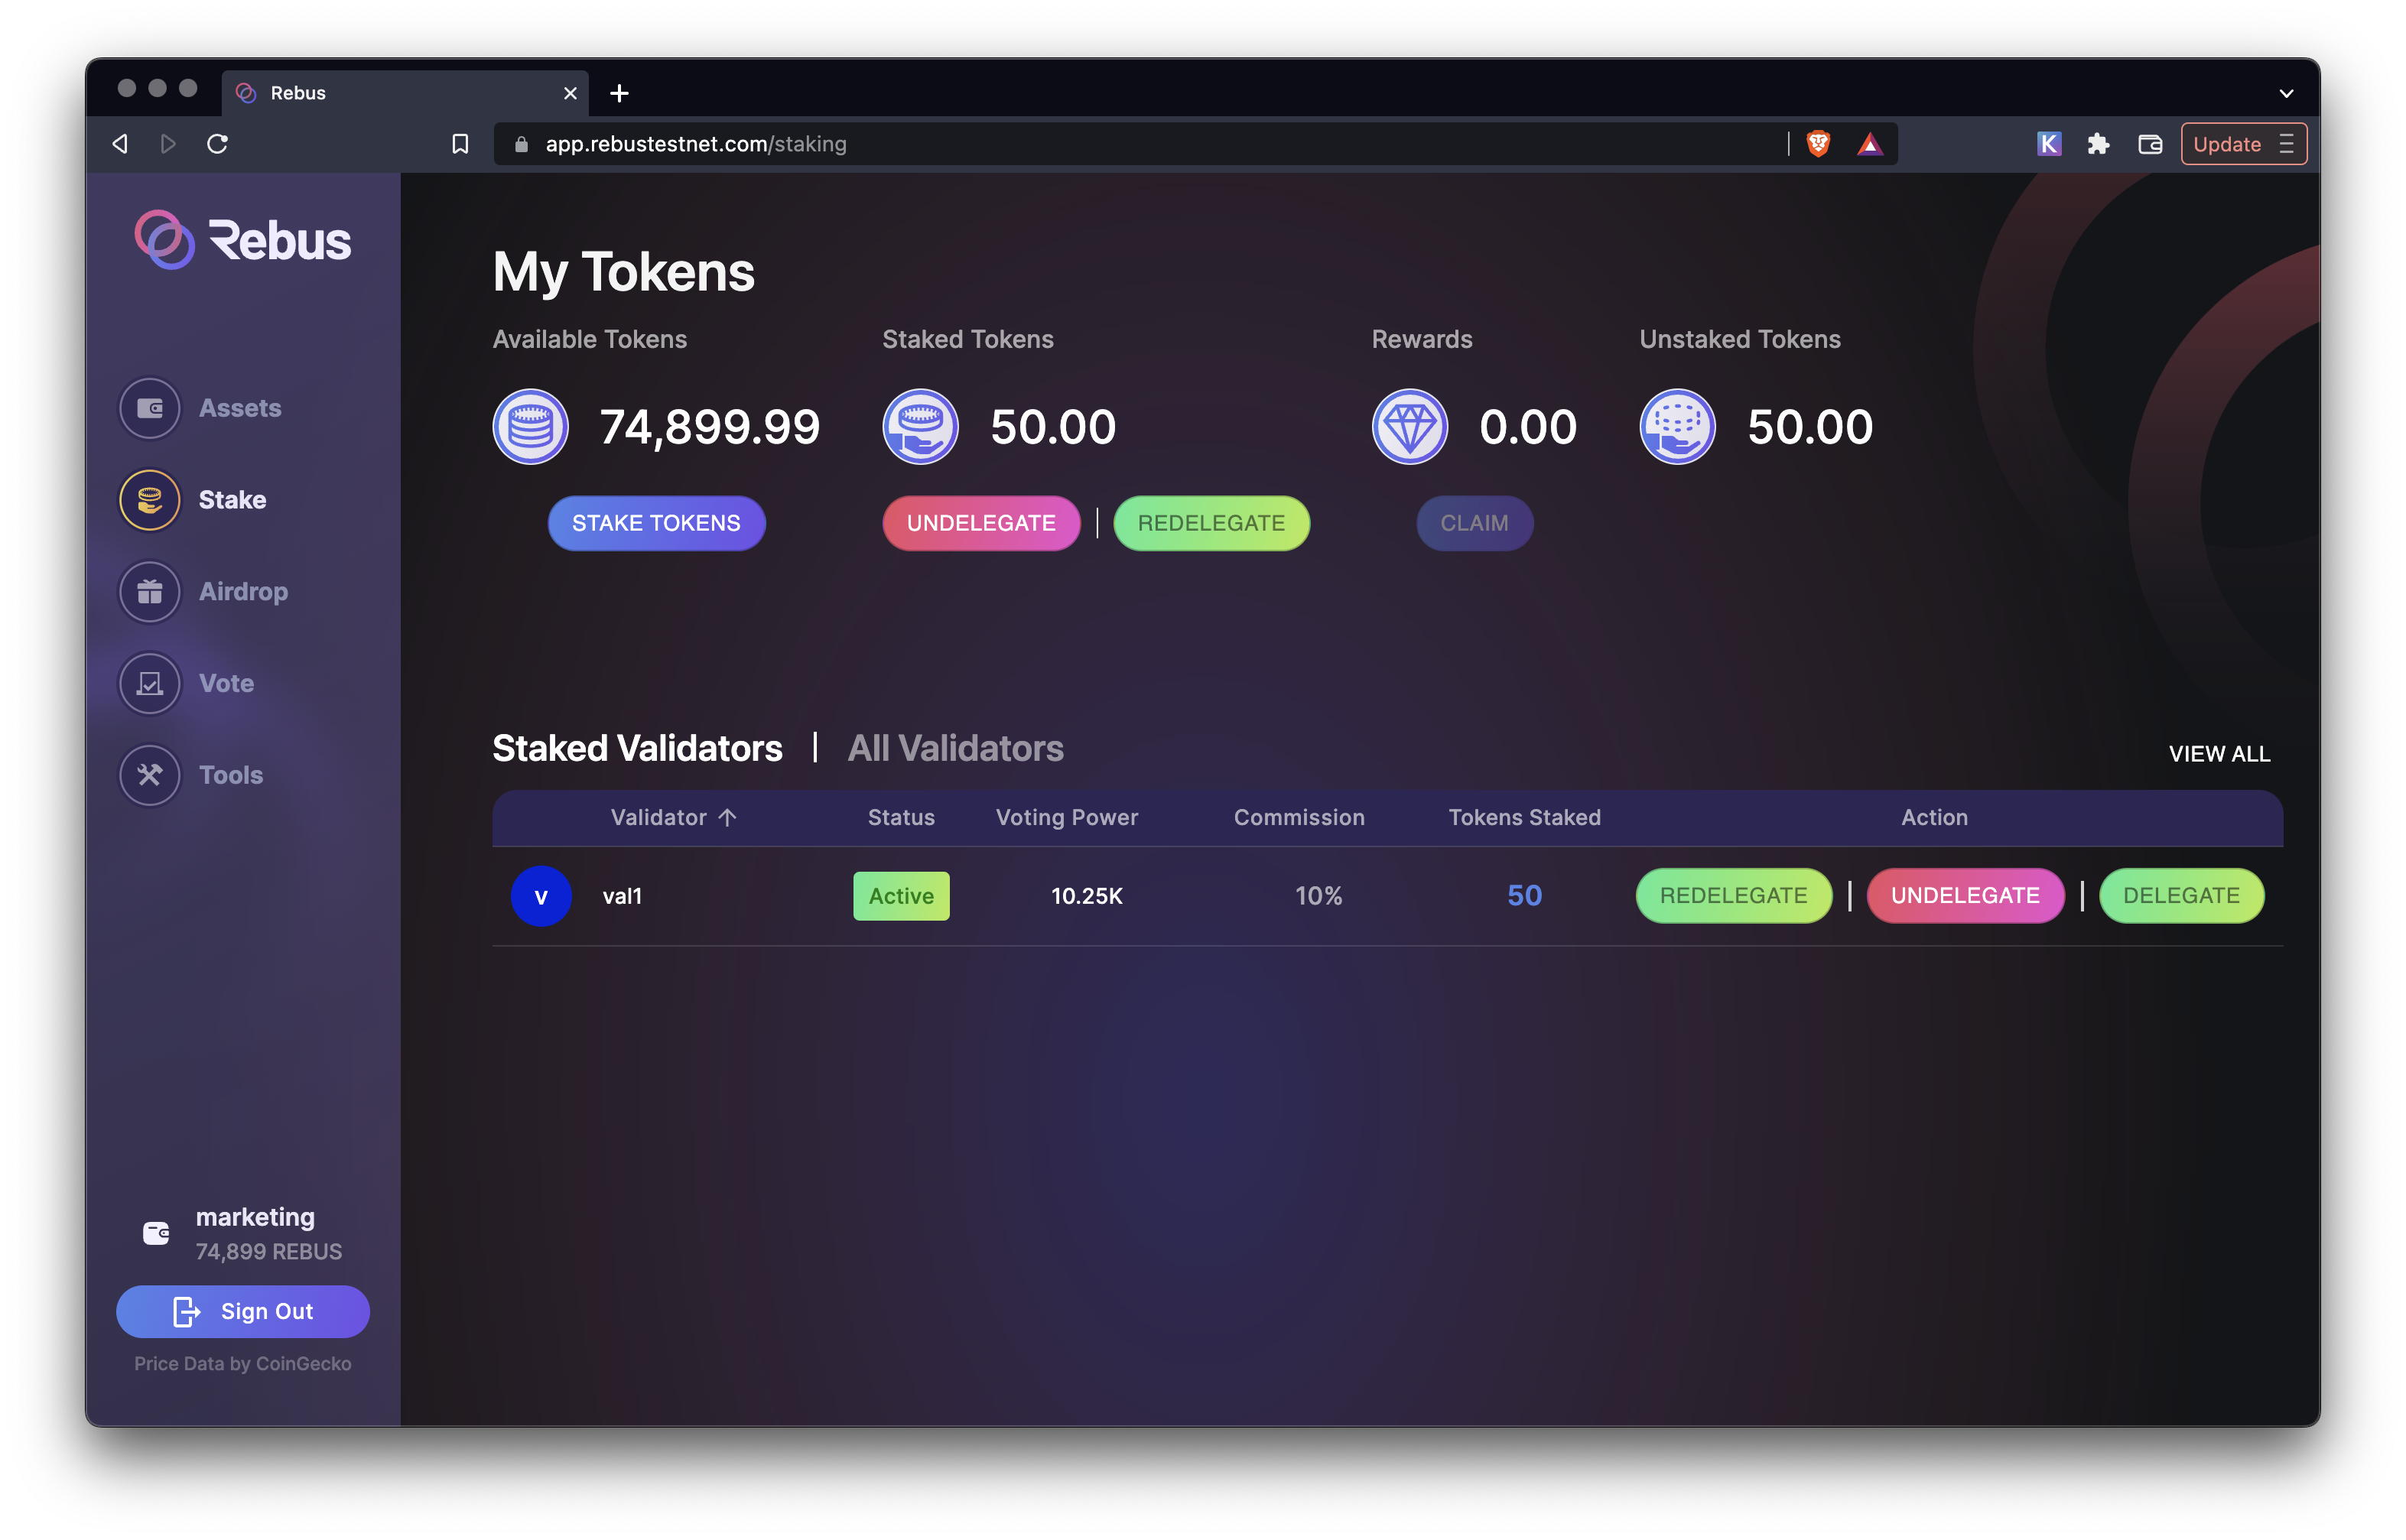
After undelegating your tokens you should now see one validator listed.
#
Collect staking rewards
Work in progress....

