#
Metamask Browser Extension
MetaMask is the crypto wallet and gateway to blockchain applications. It is trusted by more than 21 million users worldwide and is free and secure.
It provides the most straightforward and secure way to connect to blockchain-based applications, and you will always be in control when interacting on the decentralized web.
In the following steps, you will learn how to set up MetaMask so that you can easily interact with blockchain applications.
#
Step-by-Step Procedure to Create your MetaMask Wallet
Below are the detailed step-by-step instructions to create your MetaMask Wallet on your browser.
#
Step 1: Download the MetaMask wallet
Before creating a MetaMask wallet, you need to download the MetaMask extension to chrome. If you are using a mobile, you need to download the MetaMask app on the App Store or Google Play Store.
First, Go to https://metamask.io/, where you can click the Download Now button. Choose your preferred way of installing the MetaMask extension.

This guide will take you through setting up a MetaMask wallet through Chrome.
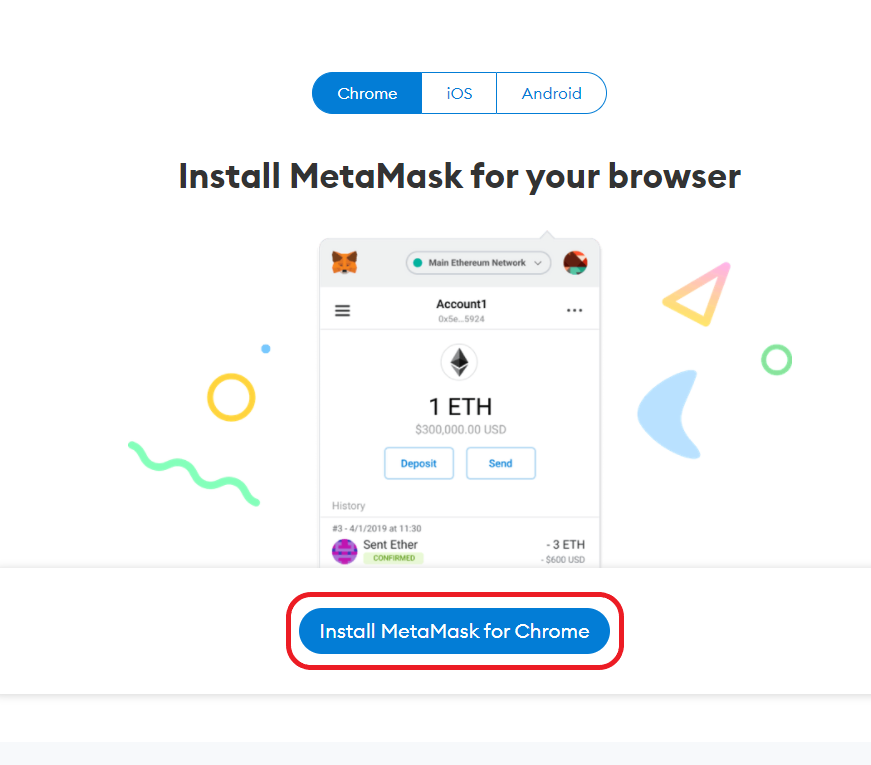
You can see Install MetaMask for Chrome and click on that if you want to install the MetaMask Chrome Extension.
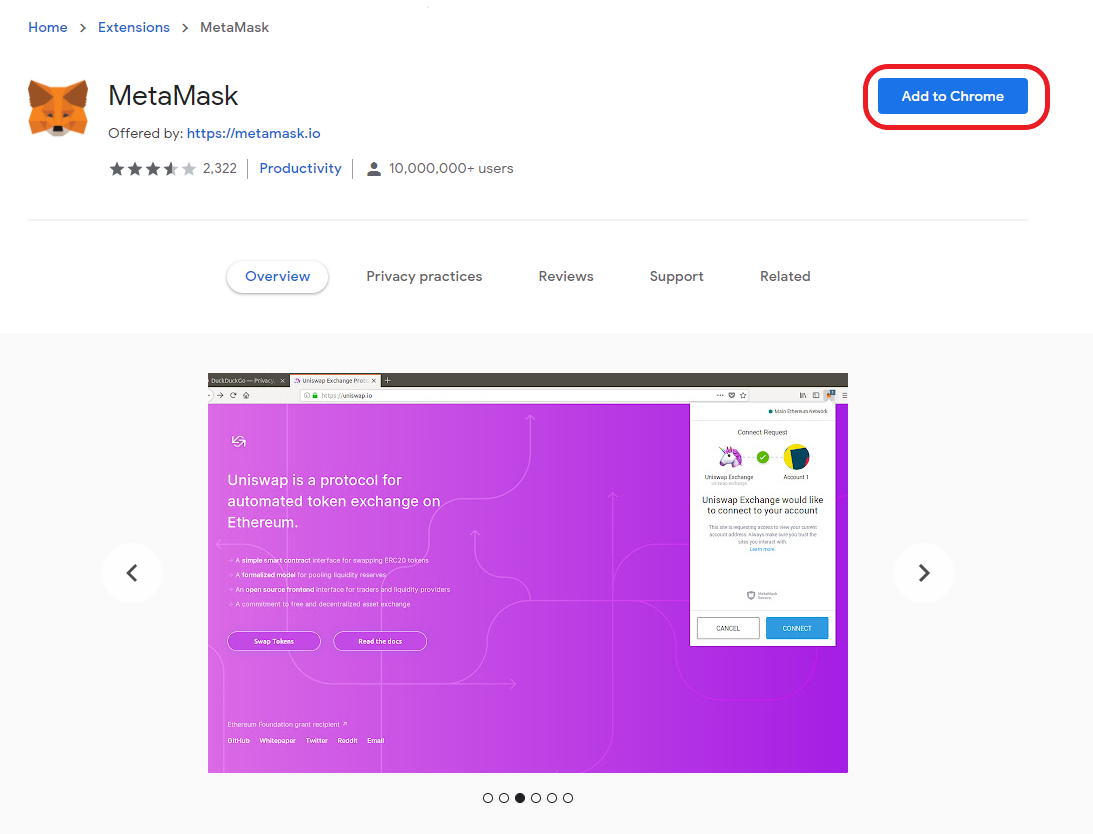
After the process, you will take to the MetaMask page of Chrome Web Store, where you can click `Add to Chrome.
#
Step 2: Click on the Metamask Extension, and Click Get Started
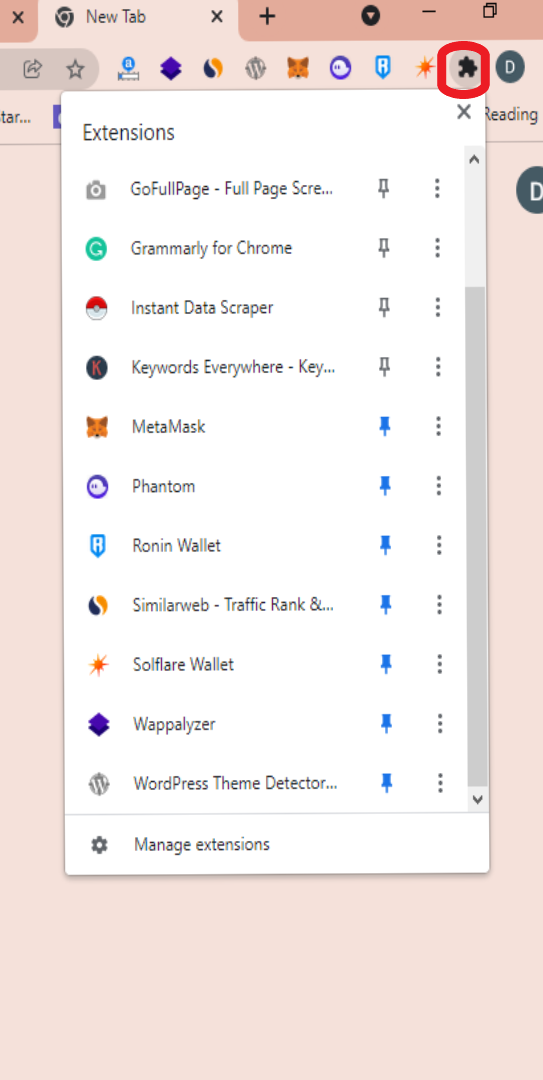
Once you install the MetaMask Extension to Chrome, you need to open it to access it.
You can click on the puzzle icon and see all the extensions you have downloaded.
Scroll down to find the MetaMask Extensions.
You can pin the MetaMask Extention to access it on the navigation bar directly.
Click on the MetaMask extension to open the MetaMask Extension.
#
Step 3: Get Started
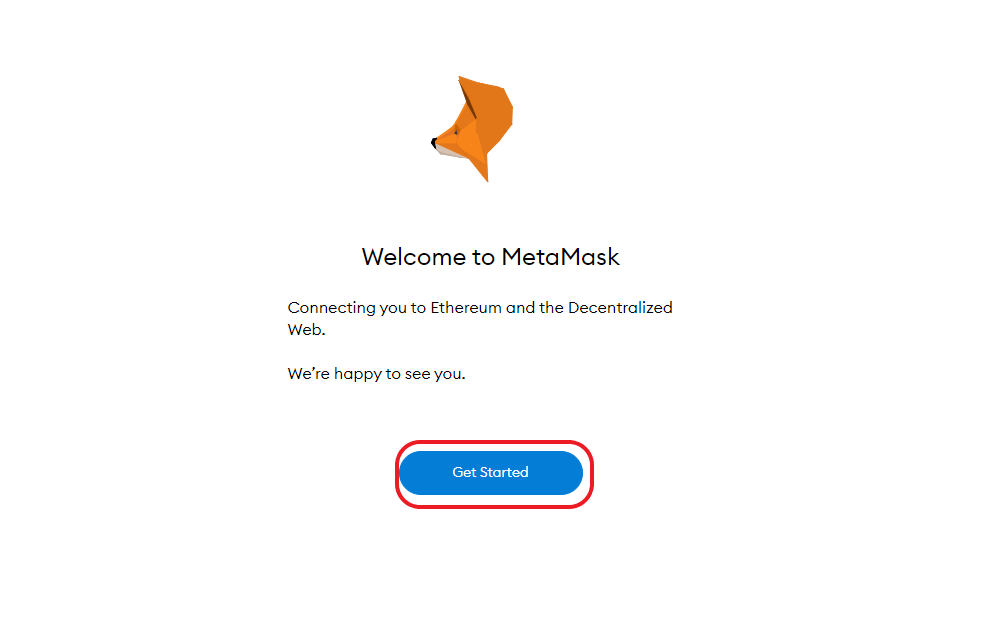
After clicking on the MetaMask extension, you will land on the Welcome to MetaMask page.
Click Get Started to get started with your MetaMask Wallet.
#
Step 4: Create a Wallet

After clicking on the Get Started, you will land on the New to MetaMask page.
On the page, you see two options.
One is No, I already have a Secret Recovery Phrase. If you have already created a MetaMask Wallet, this is the right option. Then click Import Wallet.
The second one is, Yes, Let’s get set up! which will create a new wallet and Secret Recovery Phrase. If you are creating a MetaMask Wallet for the first time, then this is the right option for you.
If you are setting up your MetaMask Wallet for the first time, click on Create a Wallet to create a new MetaMask Wallet.
#
Step 5: Select `I Agree
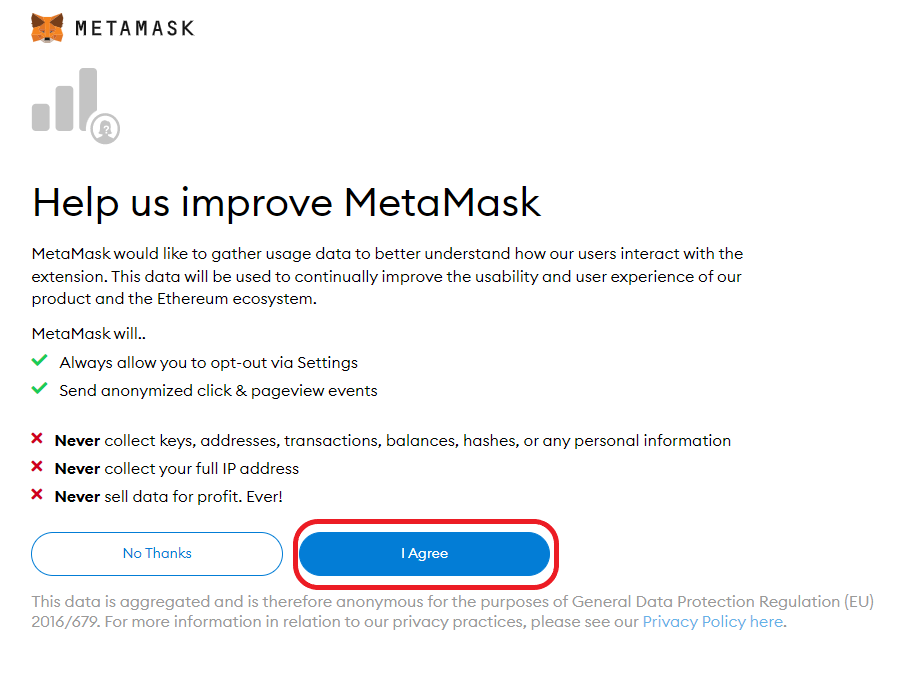
On the Help us improve MetaMask page.
Before creating a MetaMask Wallet, you have to agree to the Terms and Conditions.
After reading all the necessary descriptions, check the I Agree button.
#
Step 6: Create a Password
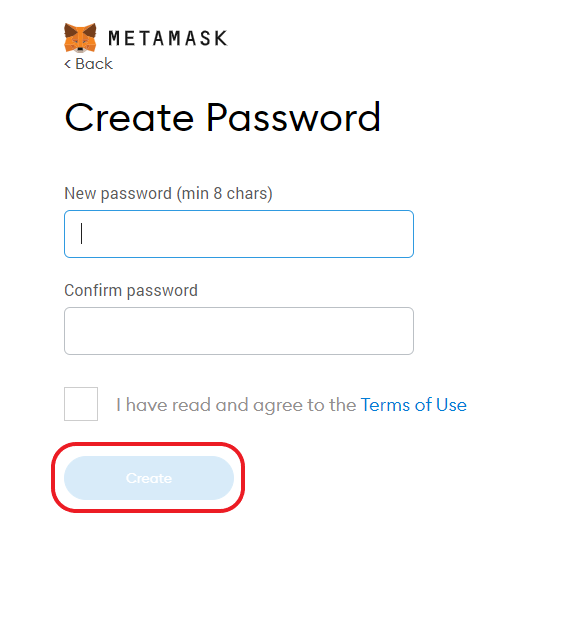
After clicking I Agree you will be asked to create a Password for your MetaMask wallet.
Create a New password, which must be a minimum of 8 chars.
Re-enter your password in Confirm Password field to confirm your password.
Then Check I have read and agree to the Terms of Use for accepting the rules and agreeing to use the MetaMask Wallet.
Click Create to move to the next step.
#
Step 7: Store your backup phrases
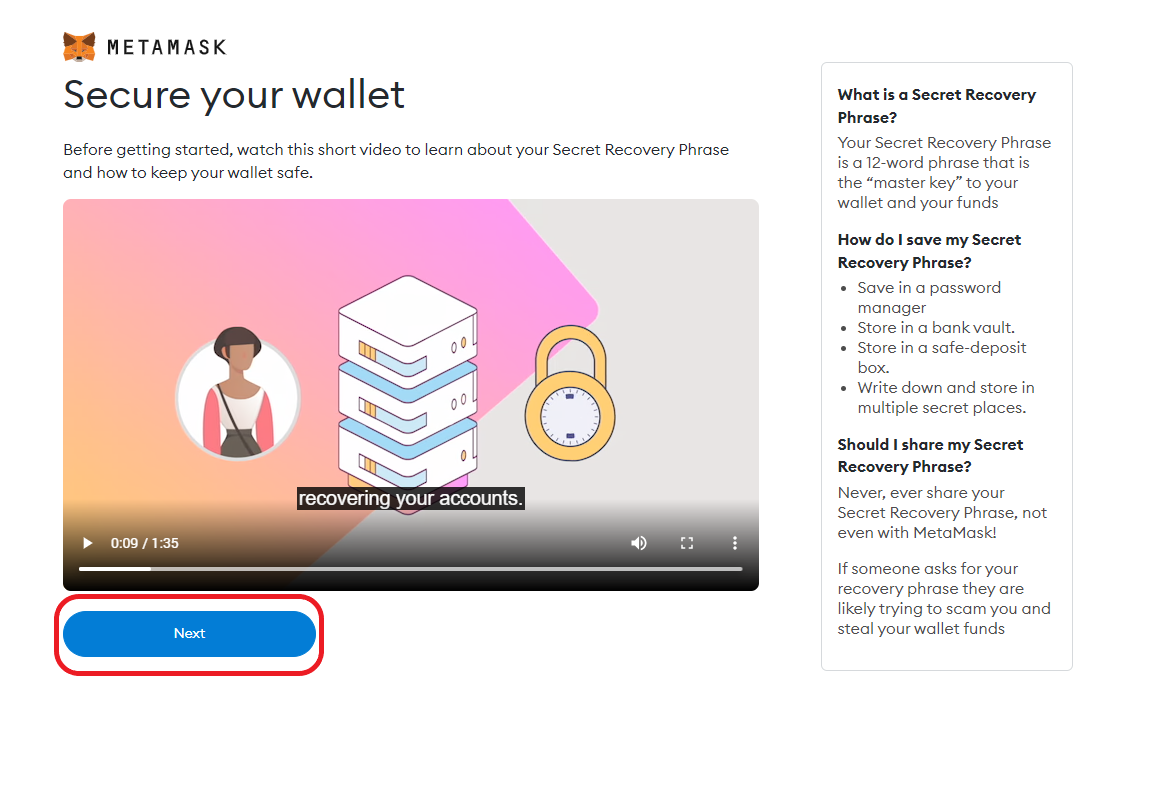
After you create the password, you can watch the two-minute video about Securing your MetaMask wallet. It gives you a brief description of the Secret Recovery Phrase and how to secure your recovery phrases.
Click Next to continue to the next phase of the wallet.
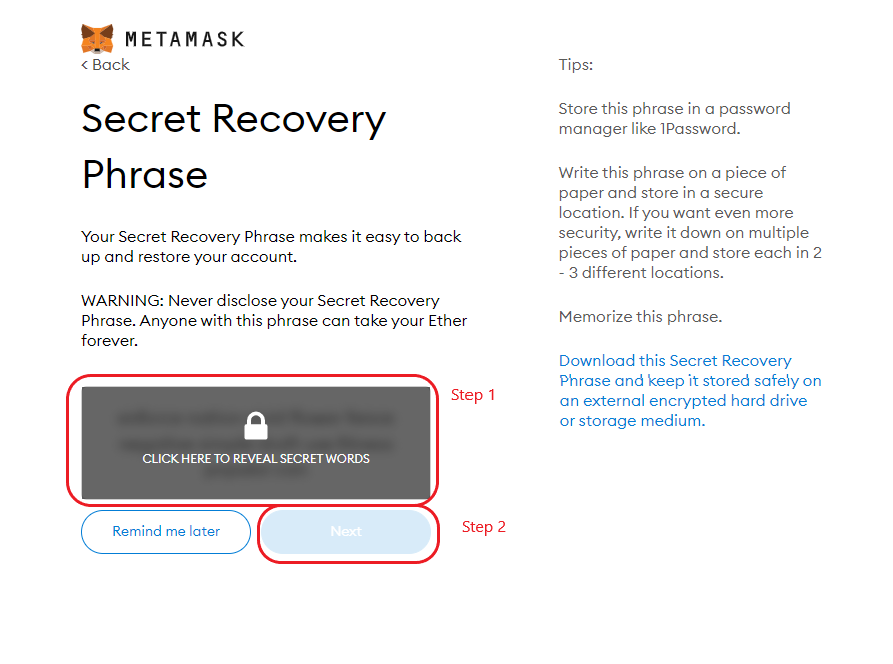
You will be on the Secret Recovery Phrase page.
You must click CLICK HERE TO REVEAL SECRET WORDS to reveal the secret recovery phrases.
Afterward, store your secret in a physical location (a piece of paper) and on the cloud.
After saving your secret phrases, you can click Next to move forward to the next step.
#
Step 8: Confirm your Secret Recovery Phrase
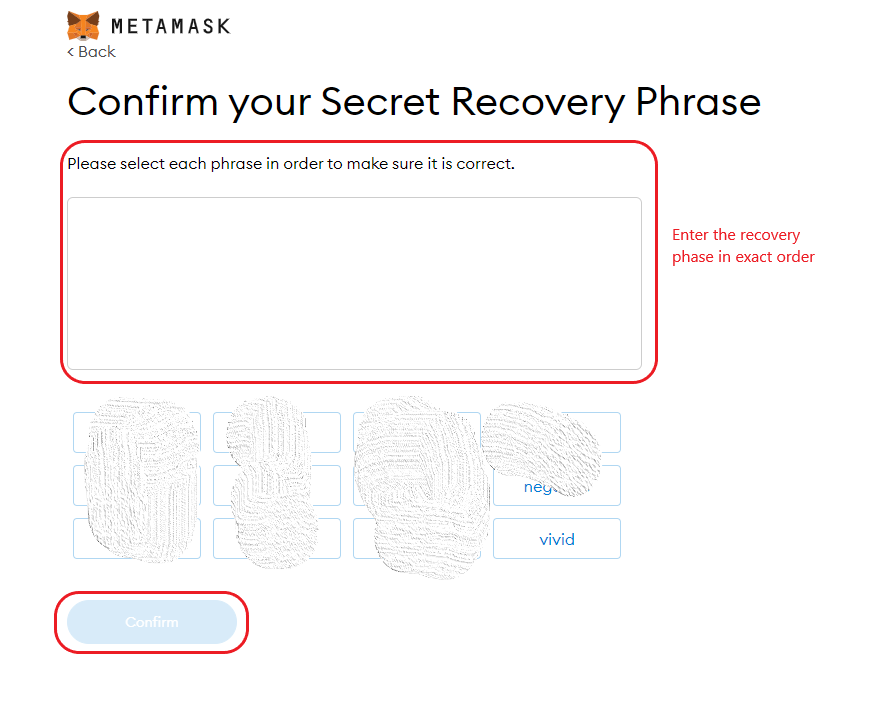
You must select each word in the correct order, just like the secret phrases displayed in the previous steps.
Double-check that you have selected each word in the correct order.
After entering each phrase in the exact order according to your secret recovery phrases, click Confirm to move forward to the next step.
#
Step 9: Start using MetaMask
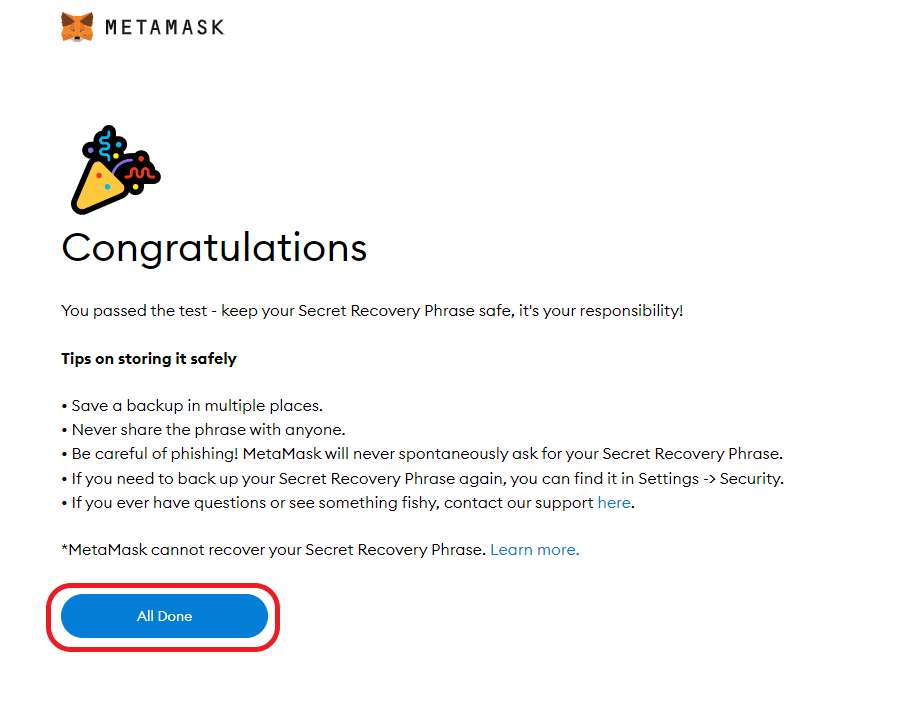
Congratulations, you have completed all of your steps correctly.
Click on All Done. After that, you can start using Metamask.
#
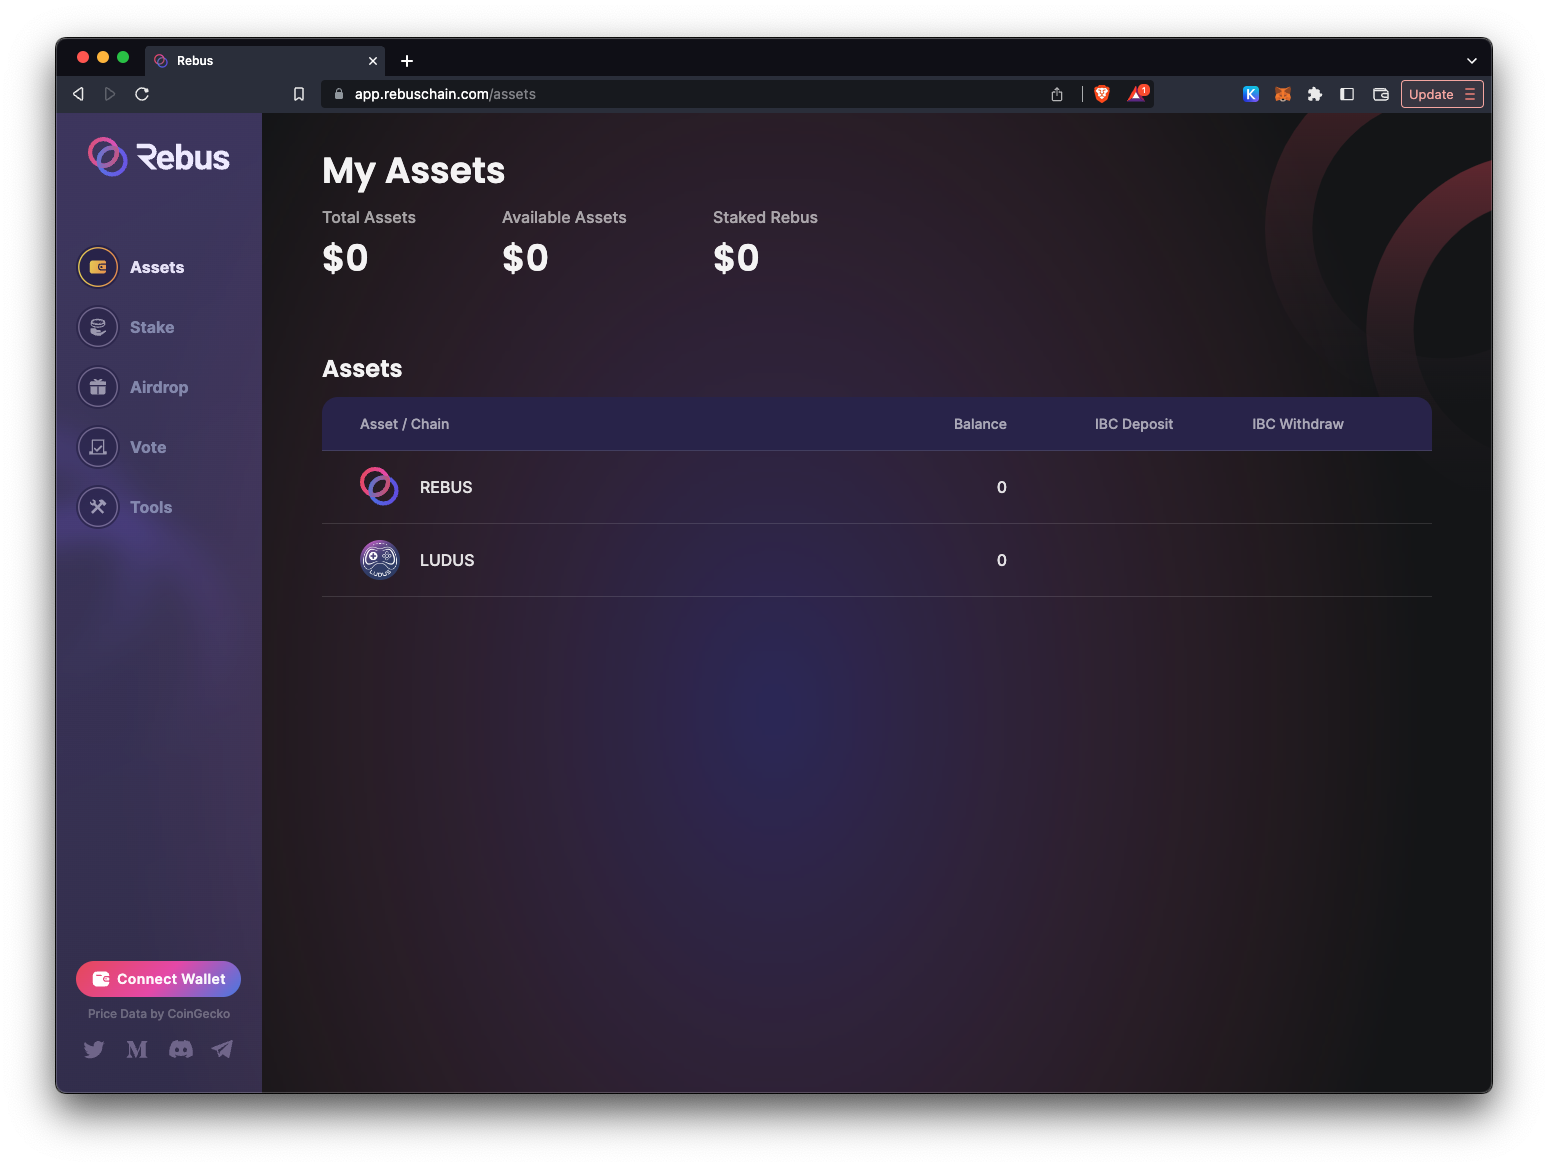
Set up Rebuschain
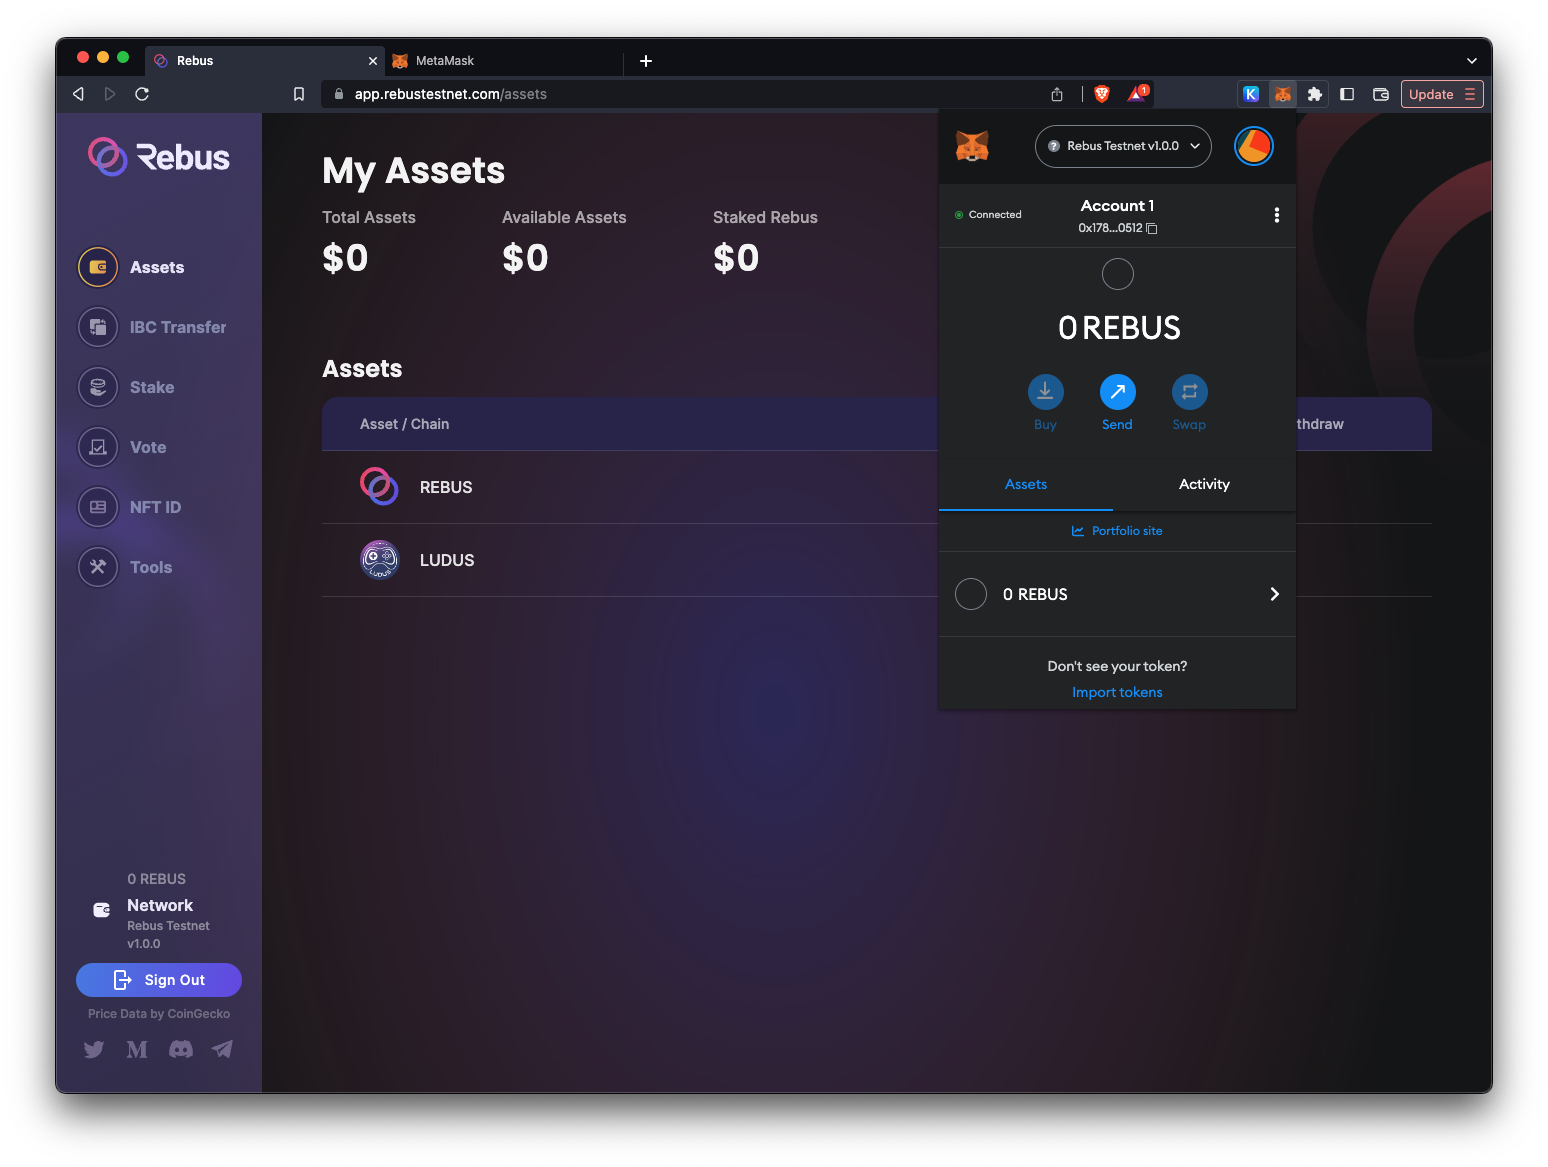
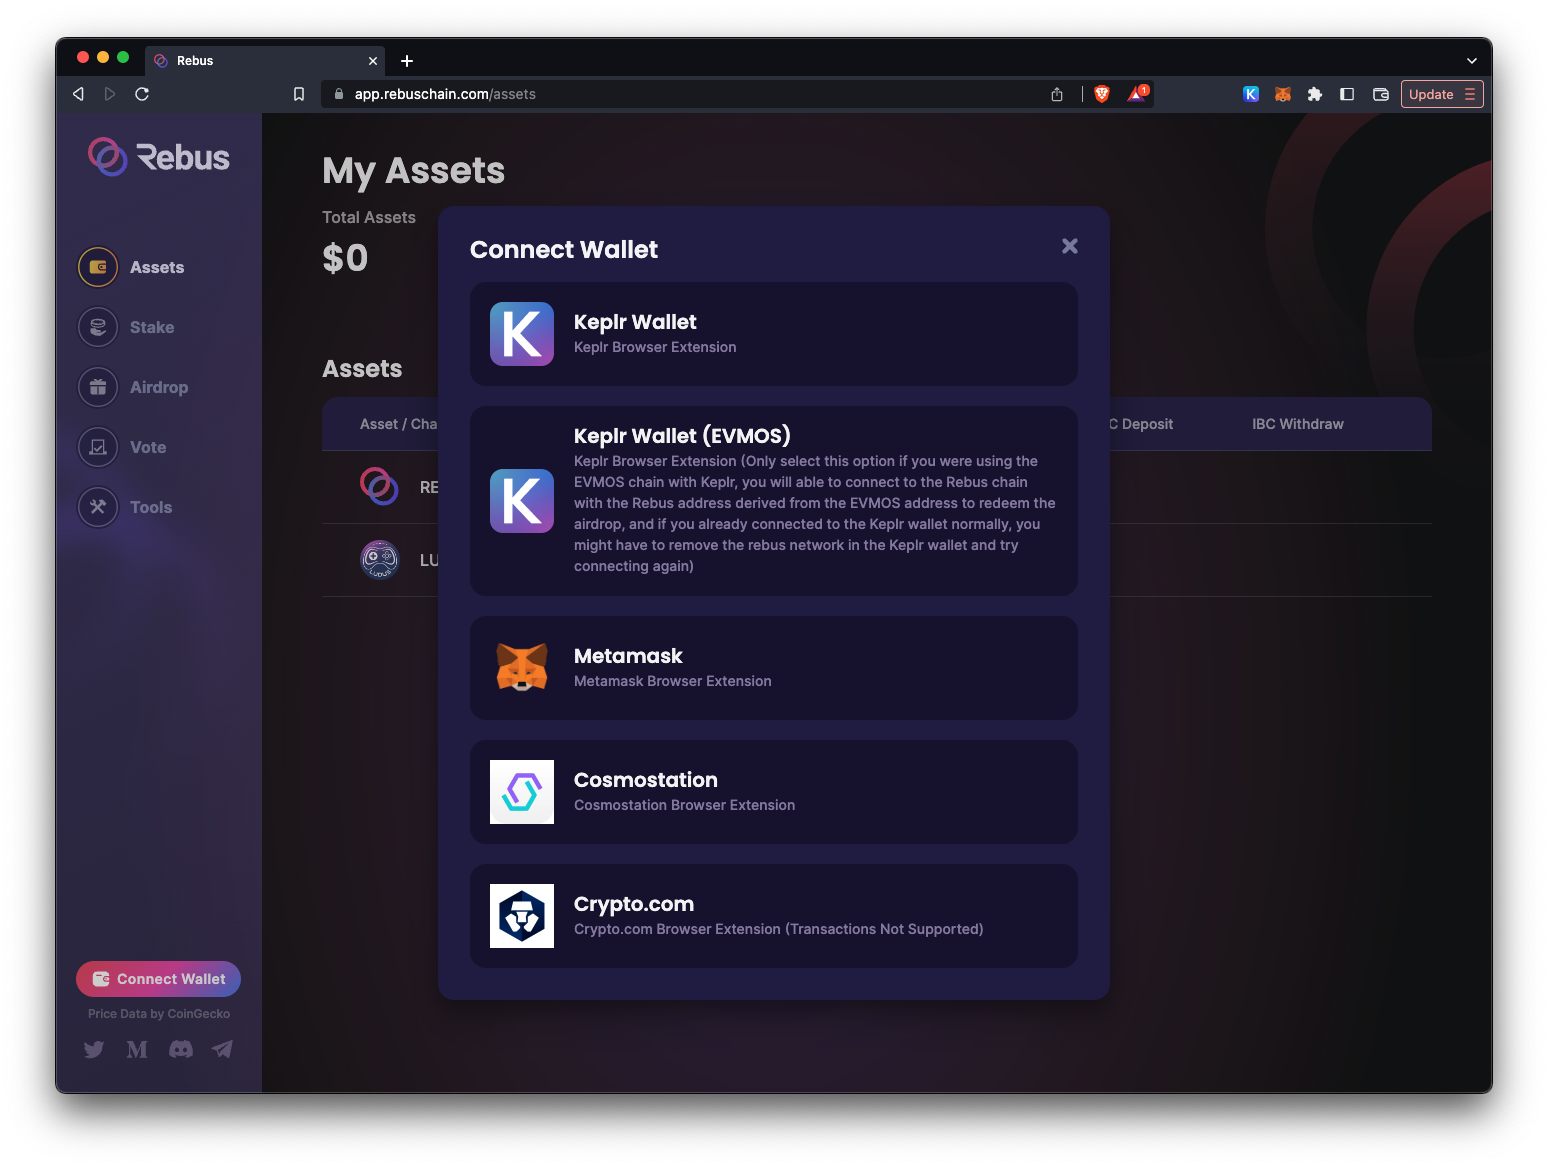
You have created your Metamask wallet and backed up your secret key. It's now time to connect it to Rebuschain. On the same browser where you installed the Metamask extension go to our App and click on the Connect Wallet button on the bottom right of the side navigation.
Click Metamask on the Connect Wallet modal.
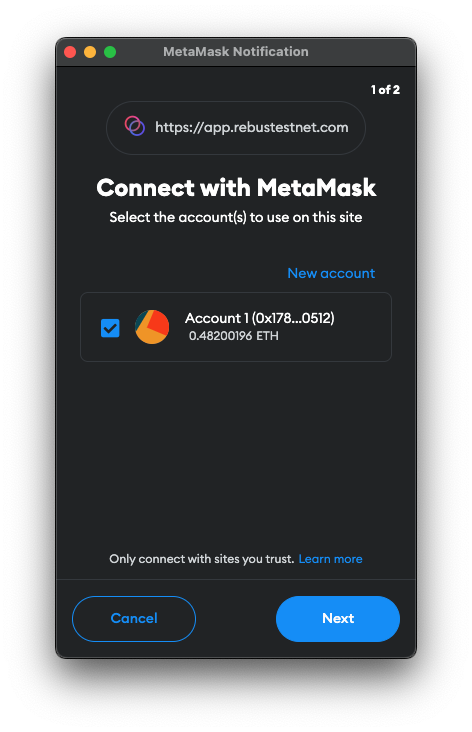
The Matamask wallet will prompt you with the connection request. Click on Next.
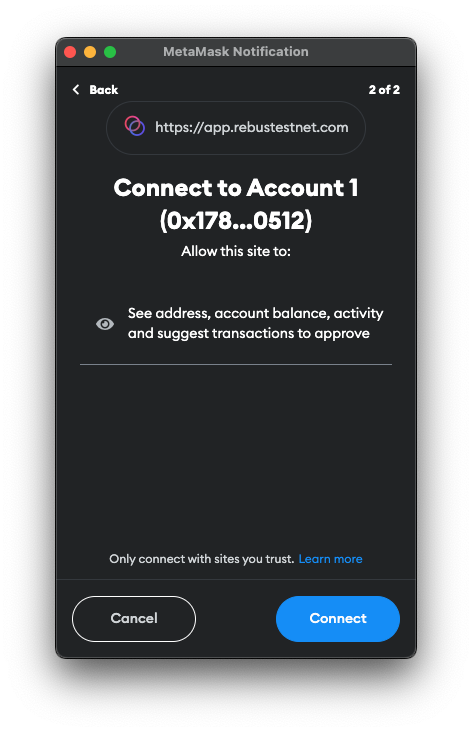
The next screen will confirm to Metamask account connection with the Rebuschain. Click on Connect.
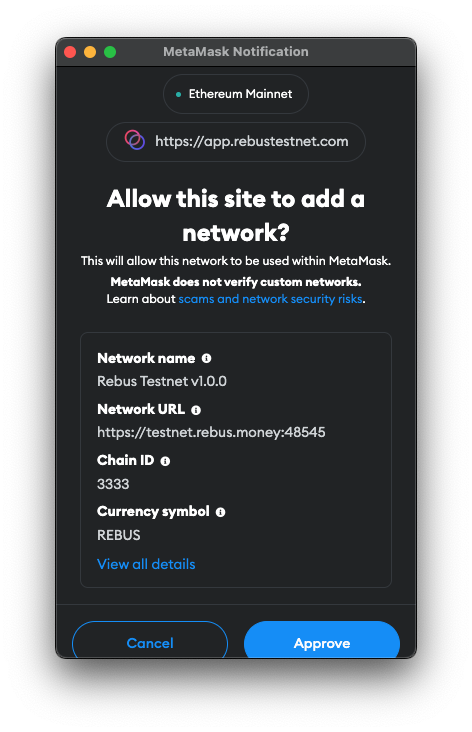
The next screen will ask to Allow to add the Rebuschain network to your wallet. Click on Approve.
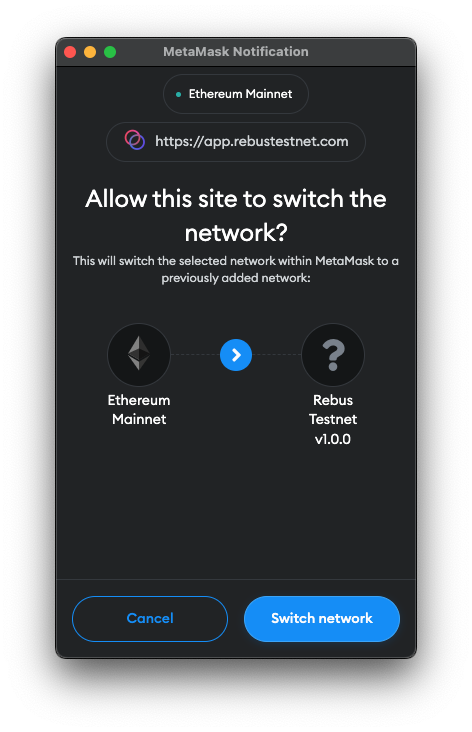
Lastly, you will be prompted to allow the Rebus application to switch to the Rebuschain network on the website. You can also do that from the main Metamask network menu.
You are now connected to Rebuschain on your Metamask wallet! Welcome to Rebuschain.